Adding a Photo
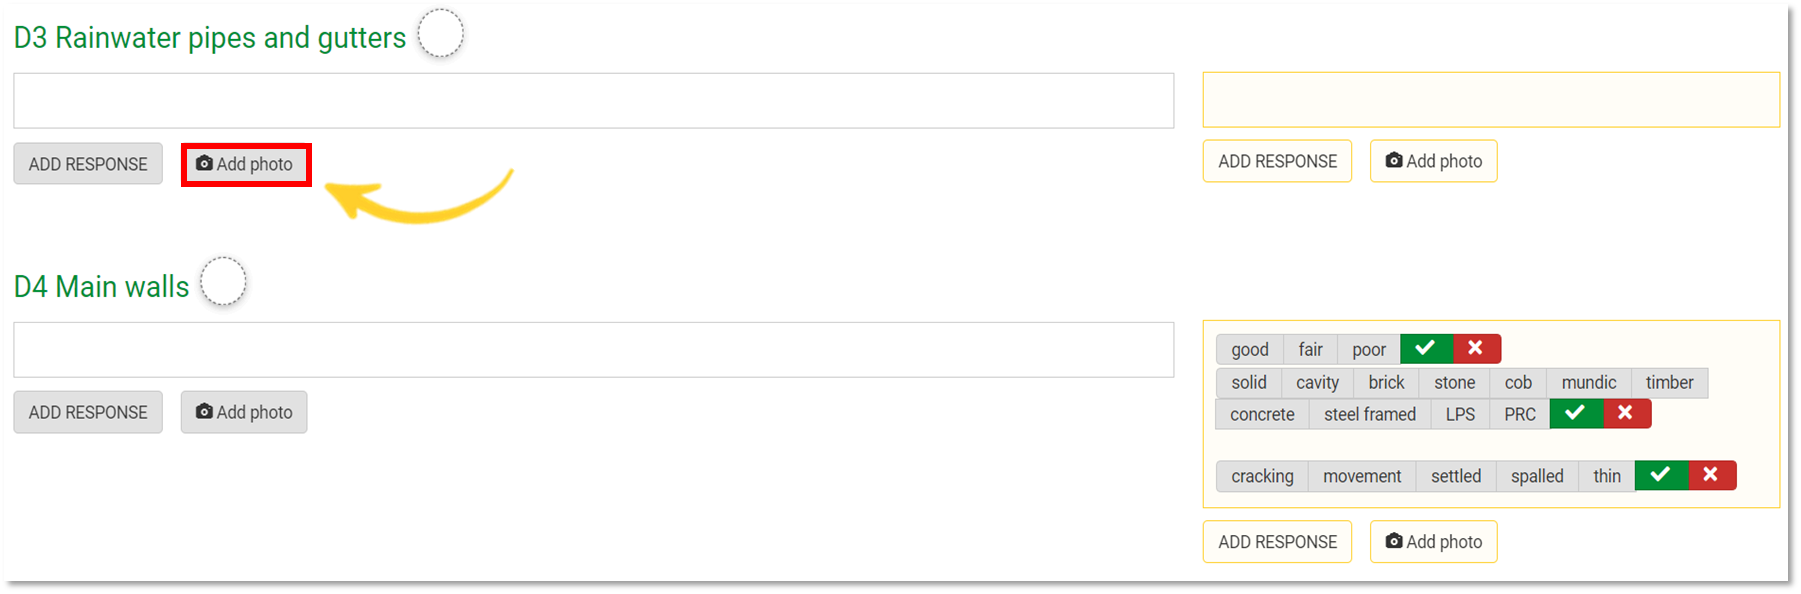
A photo can be added to any section that shows the camera icon.
- Click Add Photo (as shown below).
- Select the photo from your files and click Open.
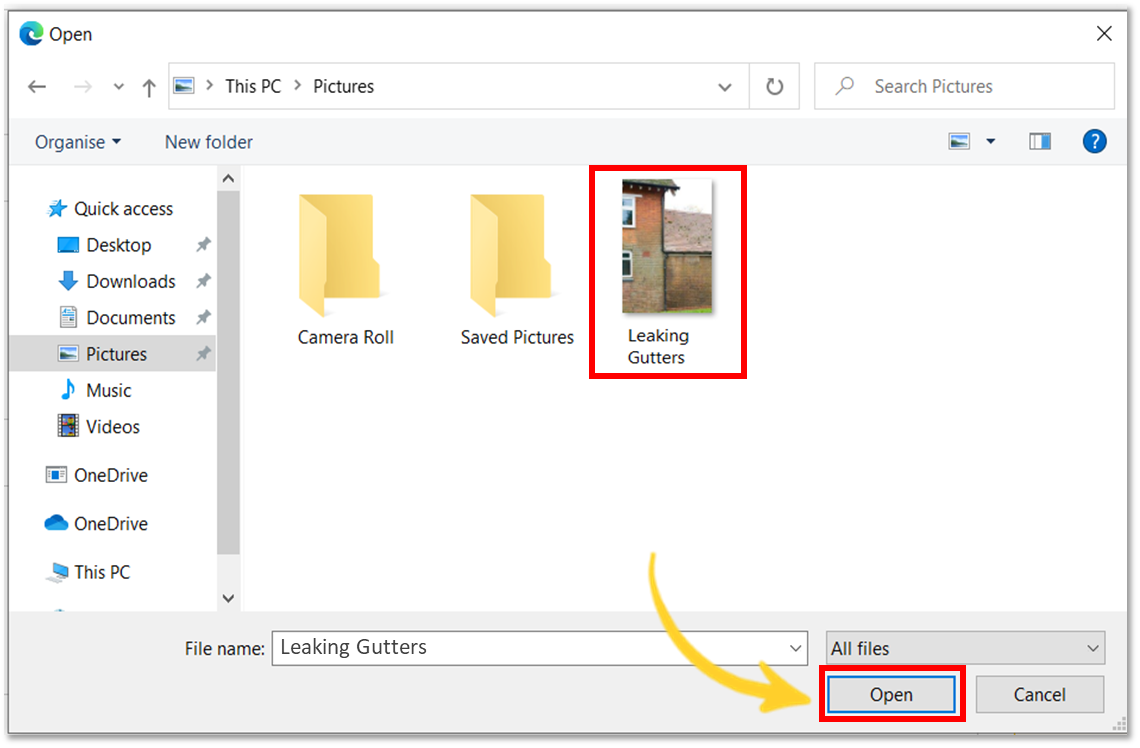
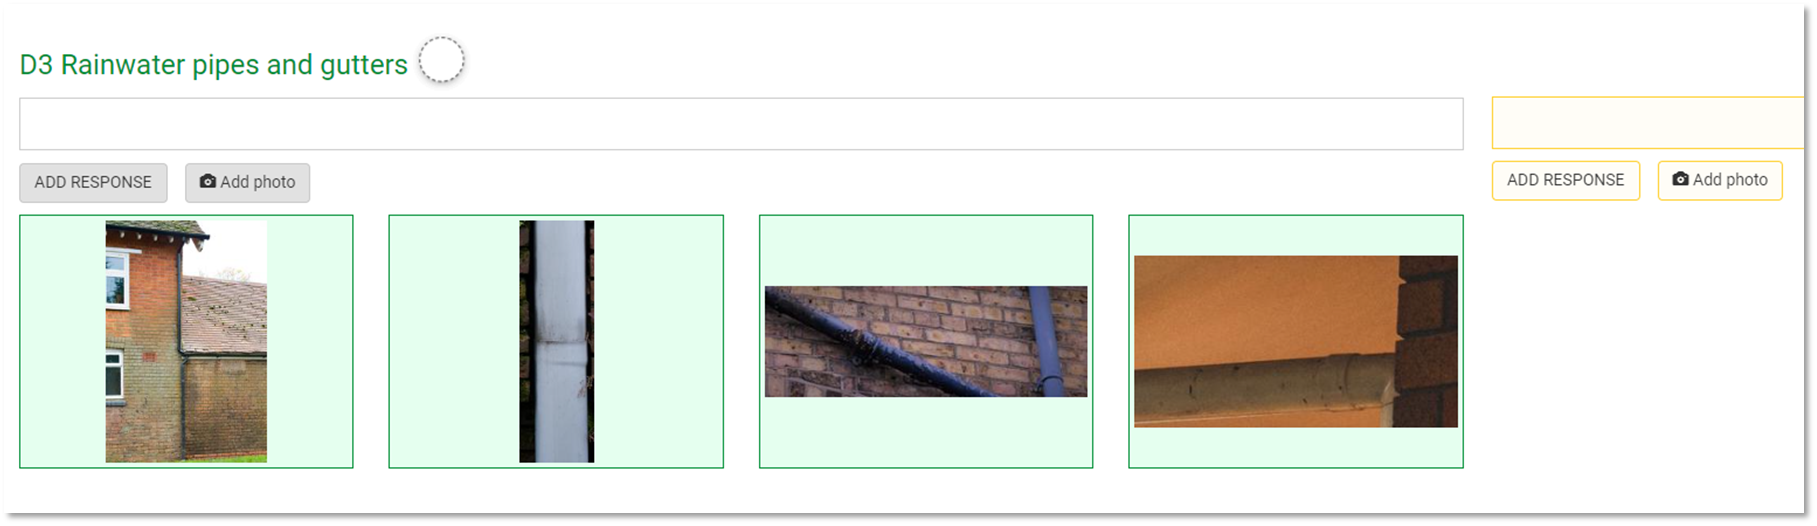
- The photo has now been added to the report.

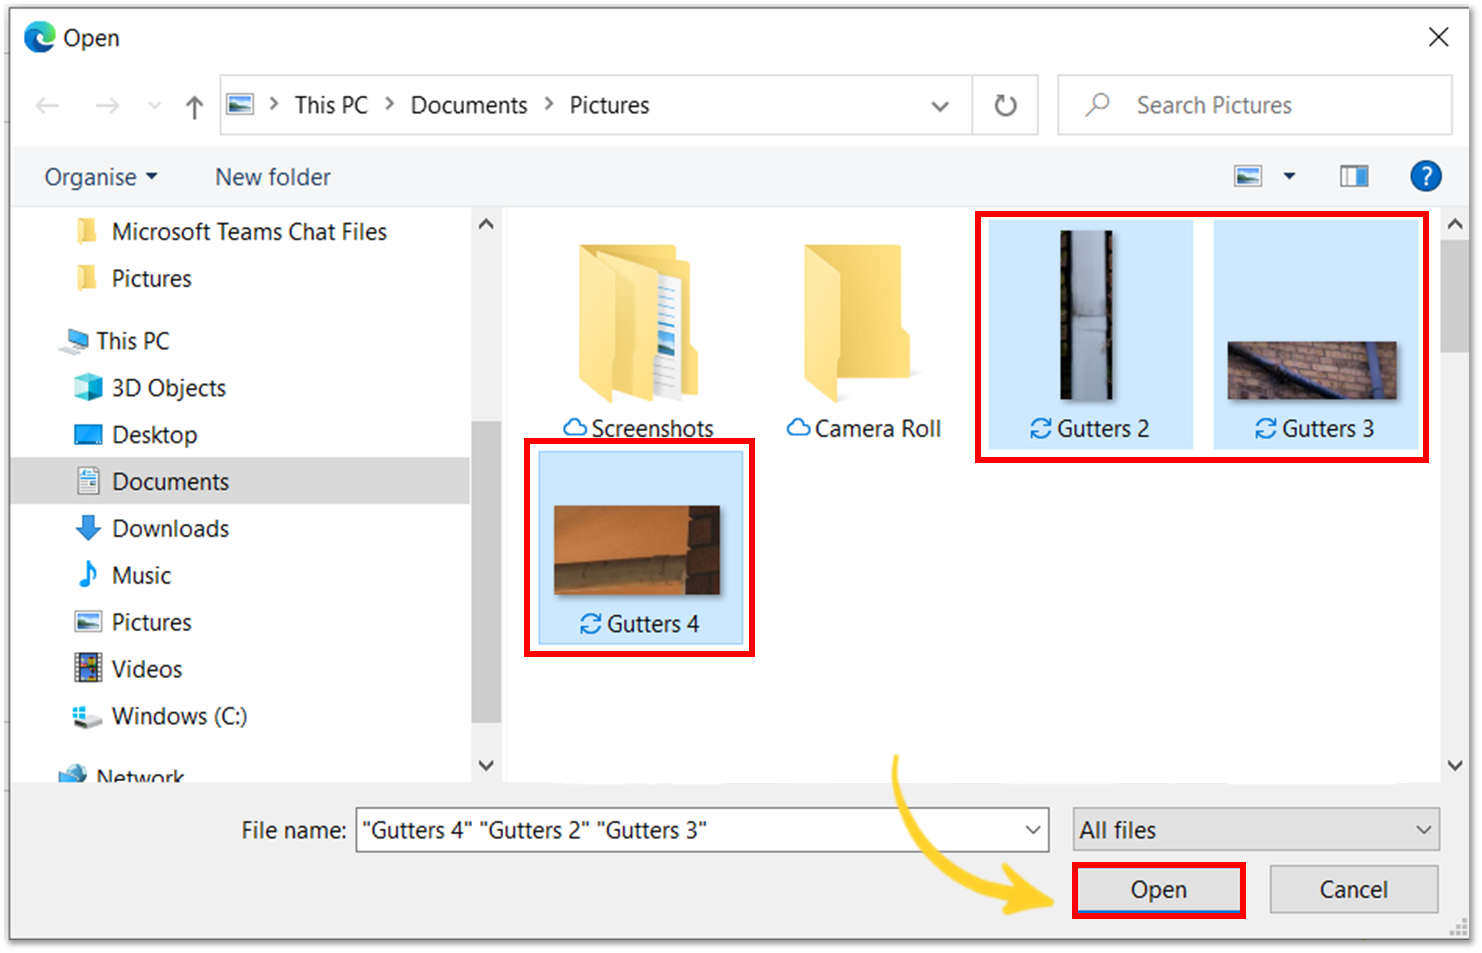
- You can also add multiple photos to your report from your files.
- 'Multi-select' photos by holding the CTRL key on your keyboard and clicking on each photo.
- Select Open.
Note: If there are a lot of photos, it may take a while for them to be added.
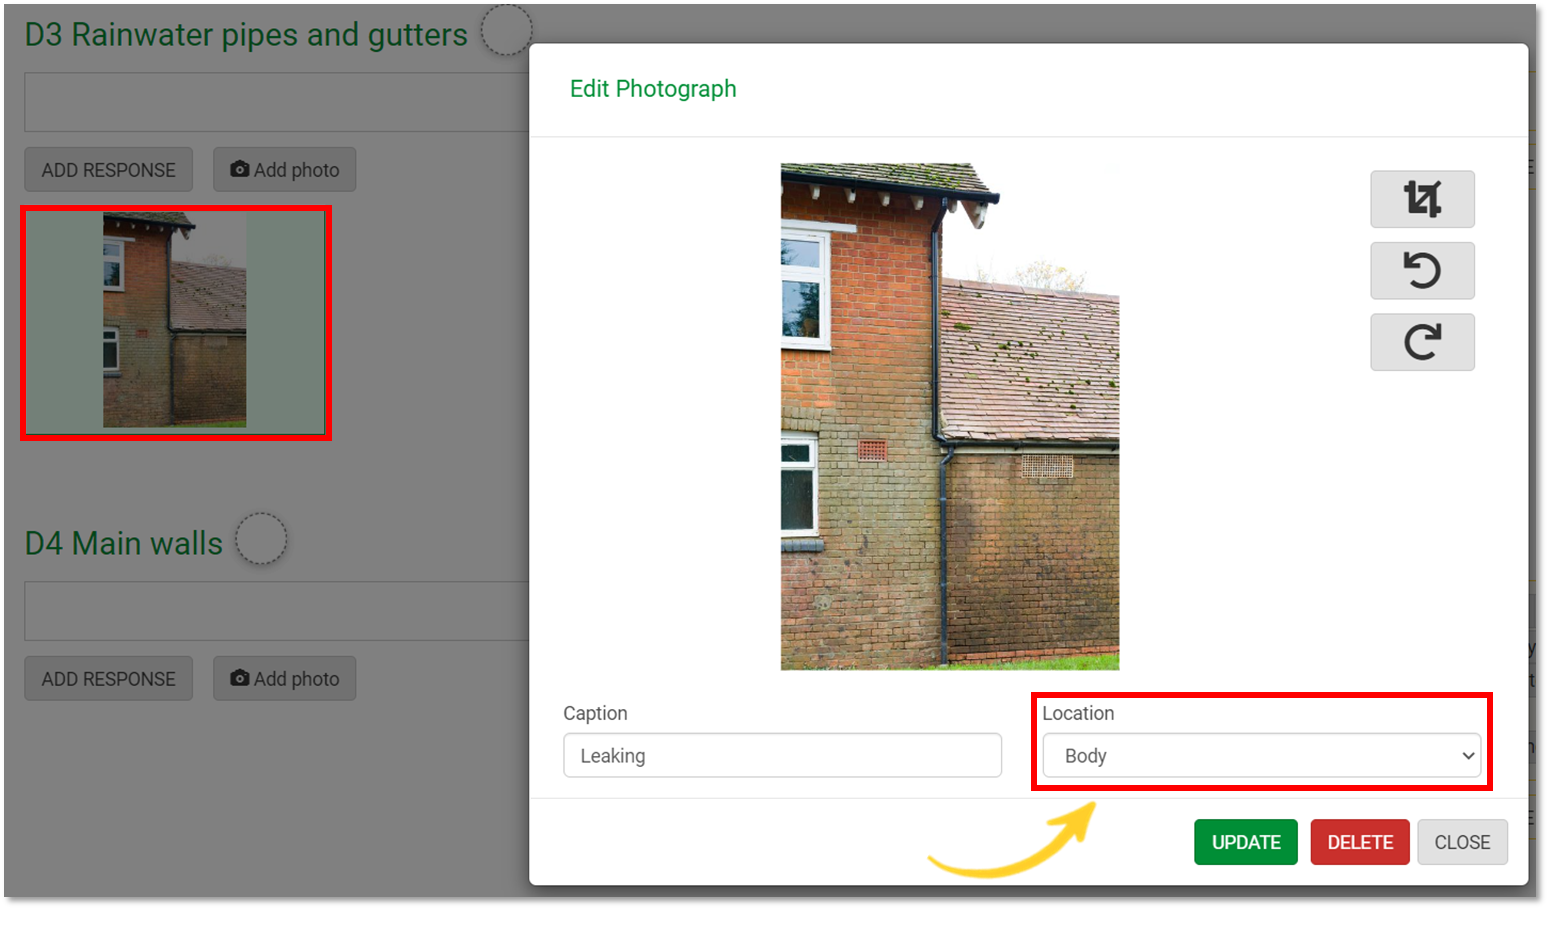
Editing a Photo
- Click on the image to open the Edit Photograph screen.
- In this section you can crop, rotate, caption, delete or move the photo to another location.

Editing options explained:

Adding a Caption
- To add a caption to your photograph, click into the Caption field and enter the text. When finished, click Update.

Changing Location of a Photo
- Click on the Location box to move the photo to another section in the report. The example below shows how to move a photo from the main Body of a report into the Notes section.

Tip: The photos in the notes section will NOT appear in the published report. You can export the data and photos from the notes section and save them to your computer. For more information please visit: Downloading/Exporting Site Notes.
- Click Close to go back to your report.

- The photo has now been moved to the Notes section.
Note: There is no limit to the amount of photos that can be added into a report.