Note: GoReport App requires permission to access your camera. Permissions can be managed in your iOS settings.
- Go to Settings on your iOS device.
- Scroll down the menu bar on the left hand side. Select the GoReport app to view the app settings.
- Toggle the Camera 'on', giving the app permission to access the camera on your iOS device.
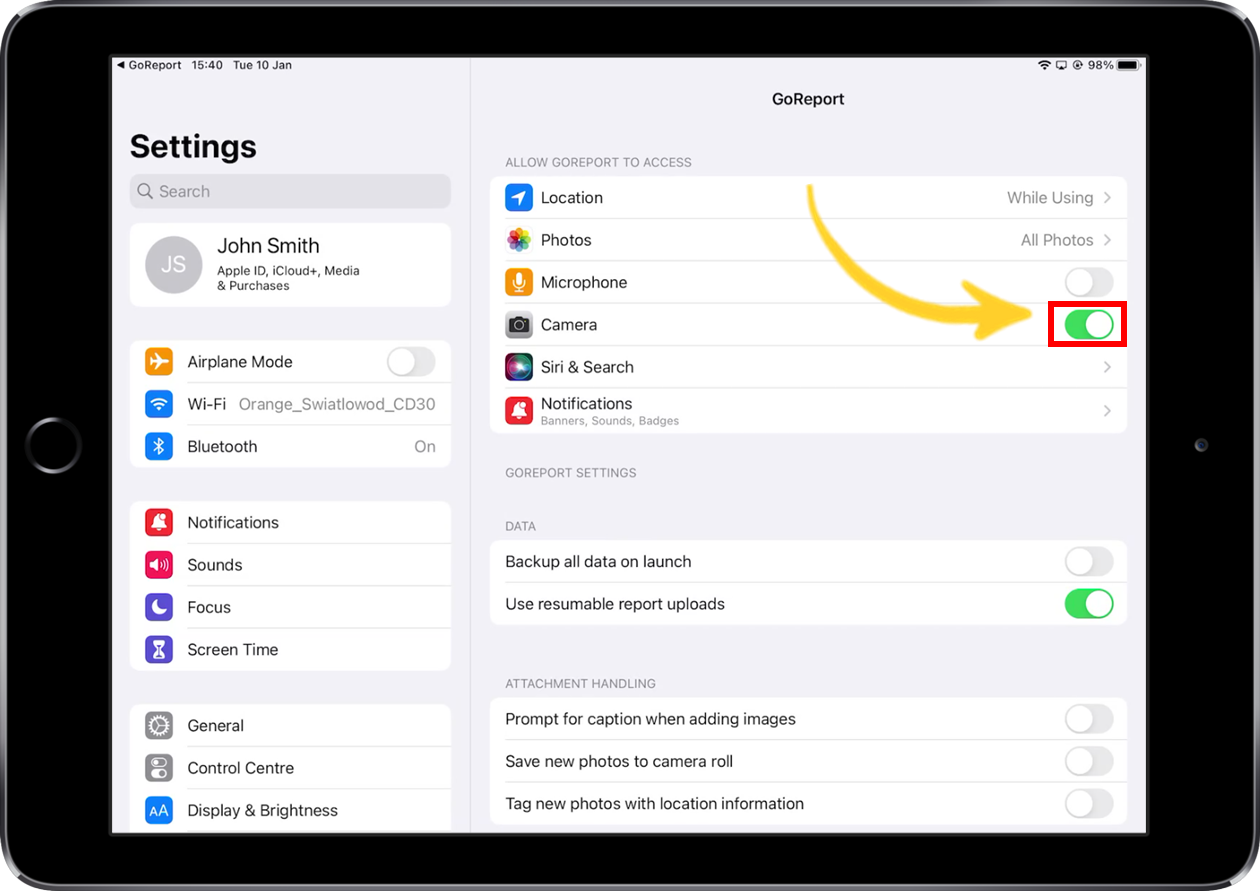
Note: Your iOS device will NOT automatically save images to the camera roll unless this setting is enabled.


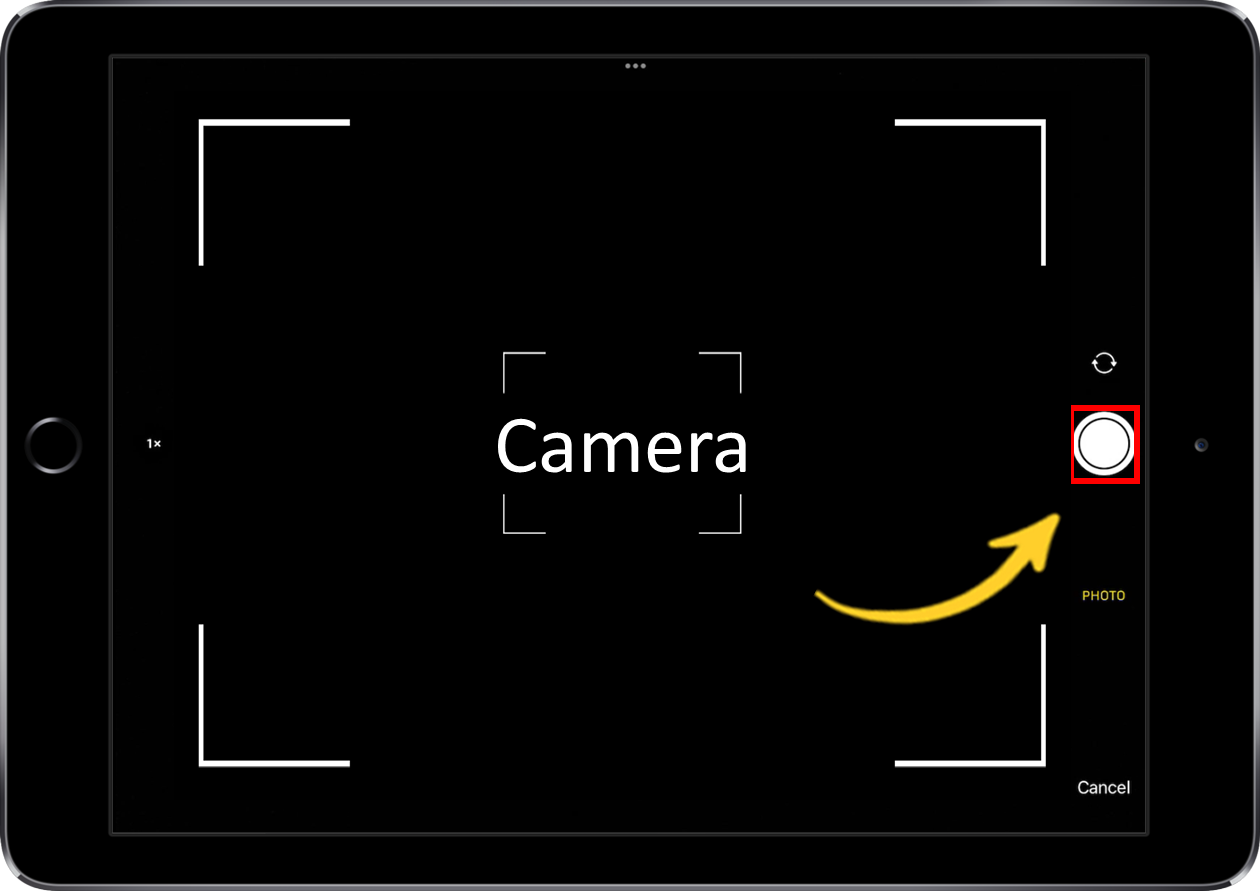
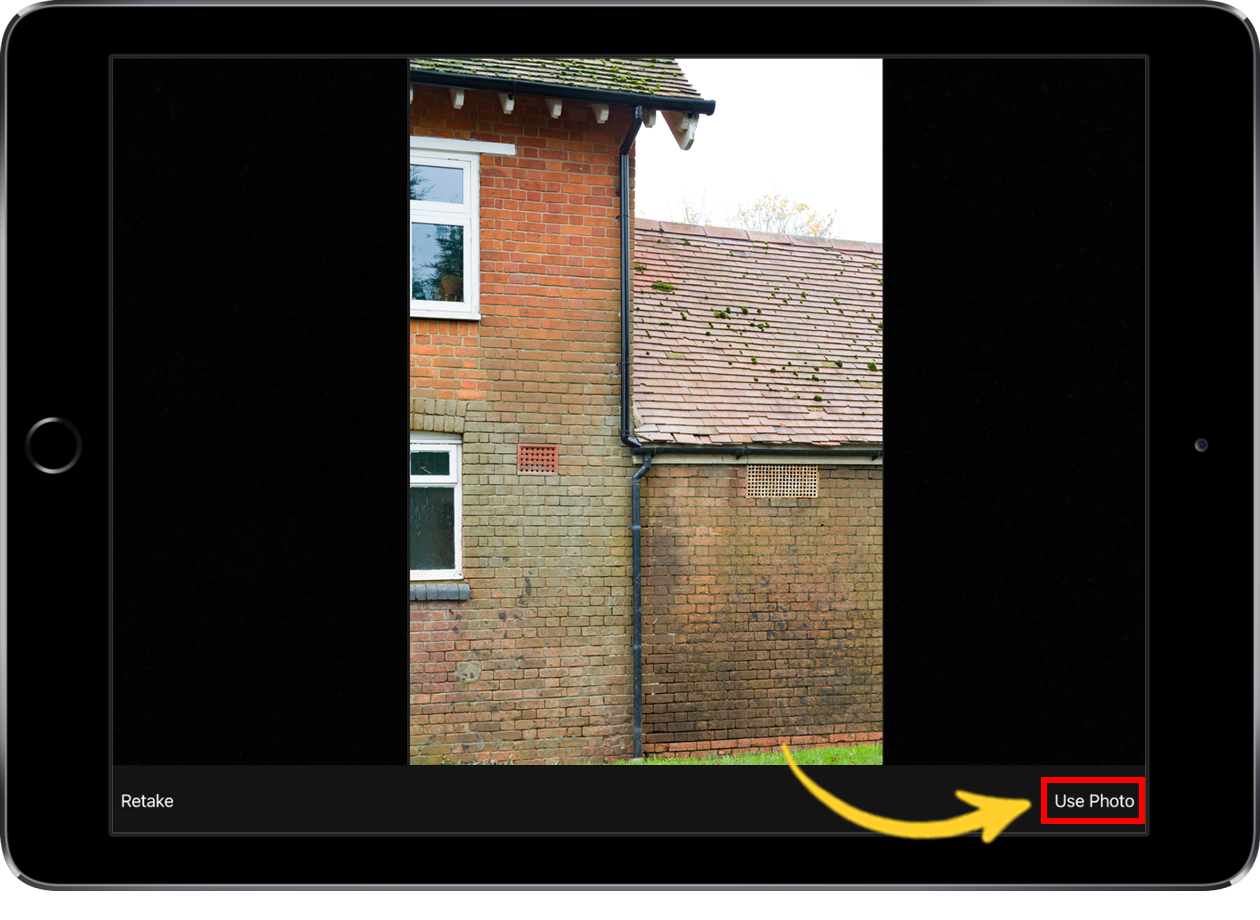
- Touch the circle button (as shown below) to capture a photo.
- Select Use Photo to add this photo.
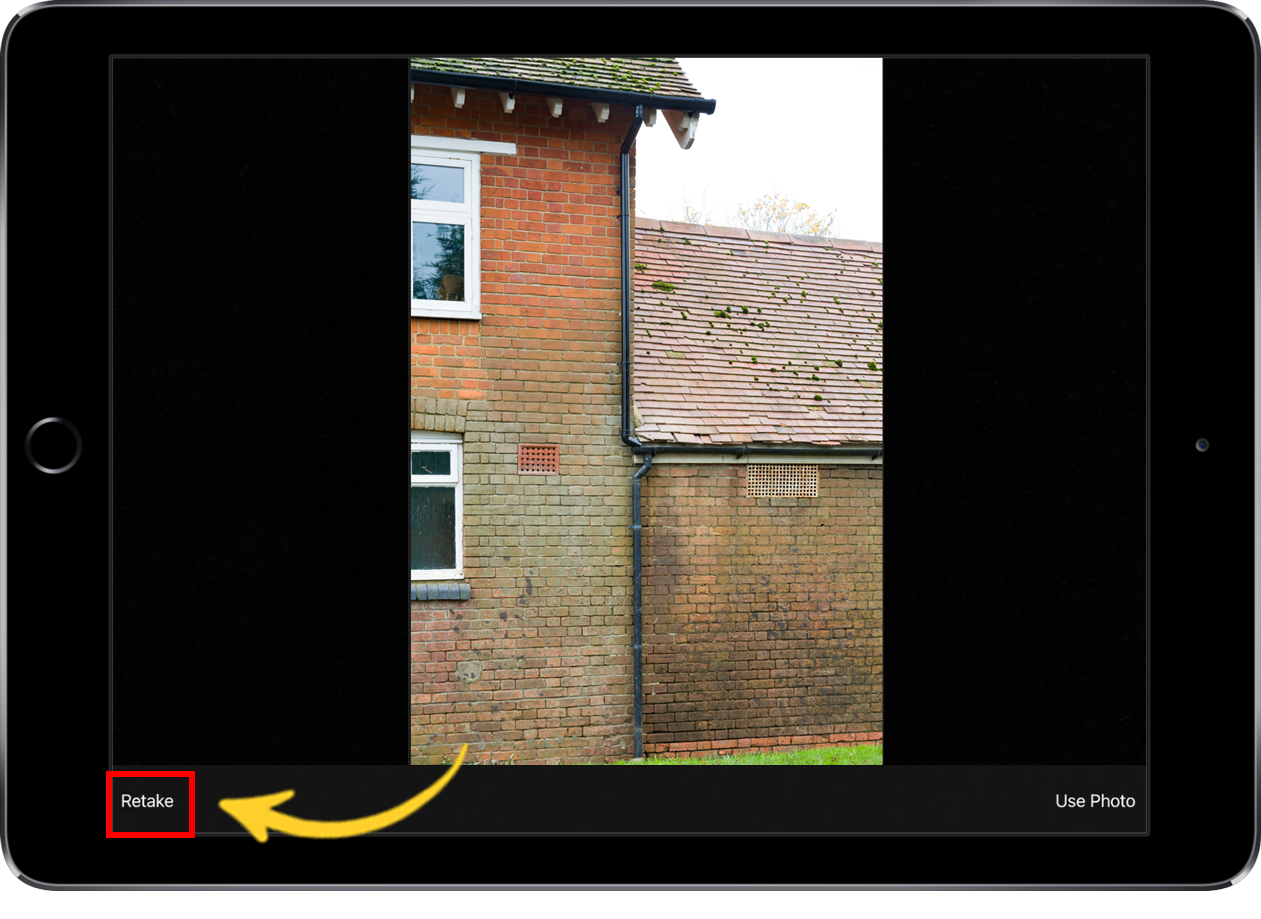
- If you would like to retake the photo, select Retake.
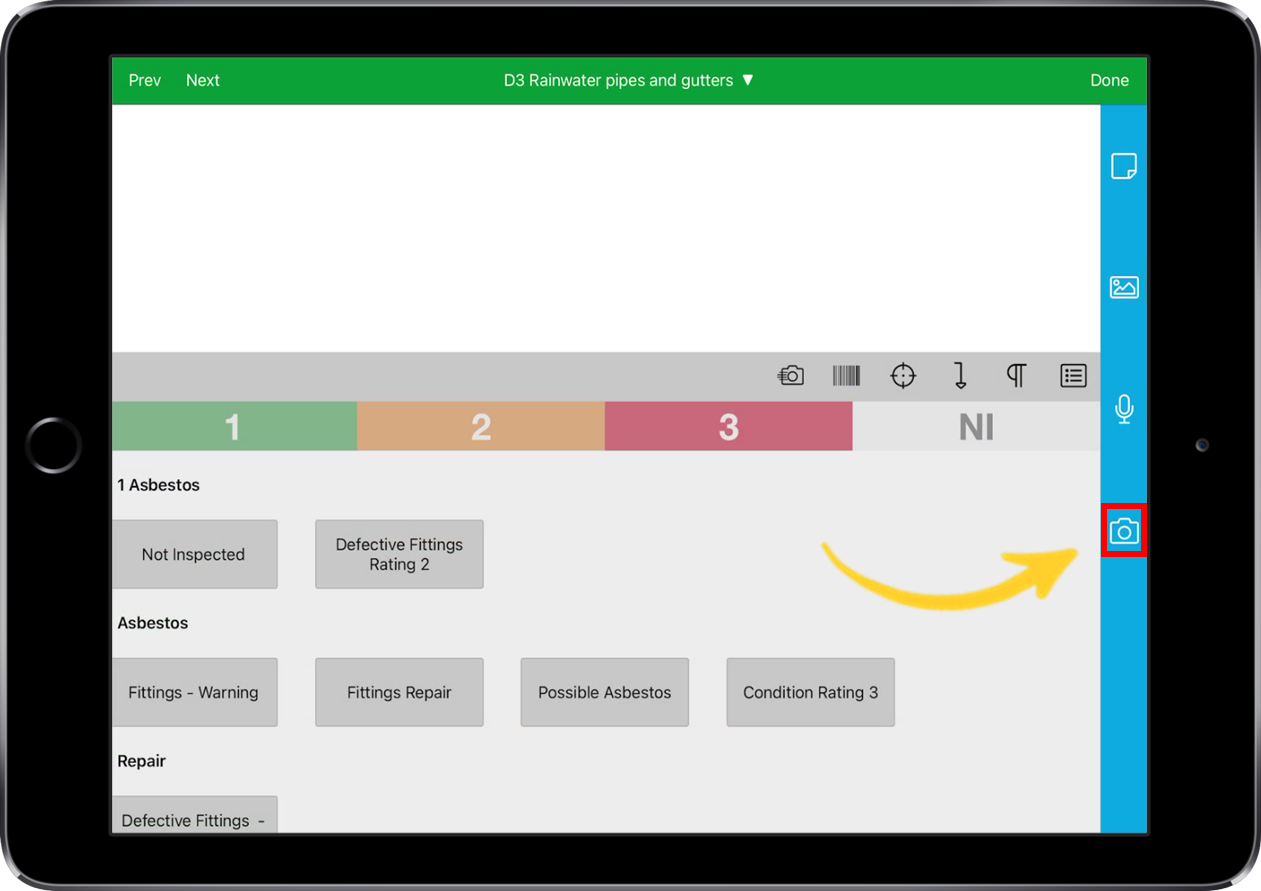
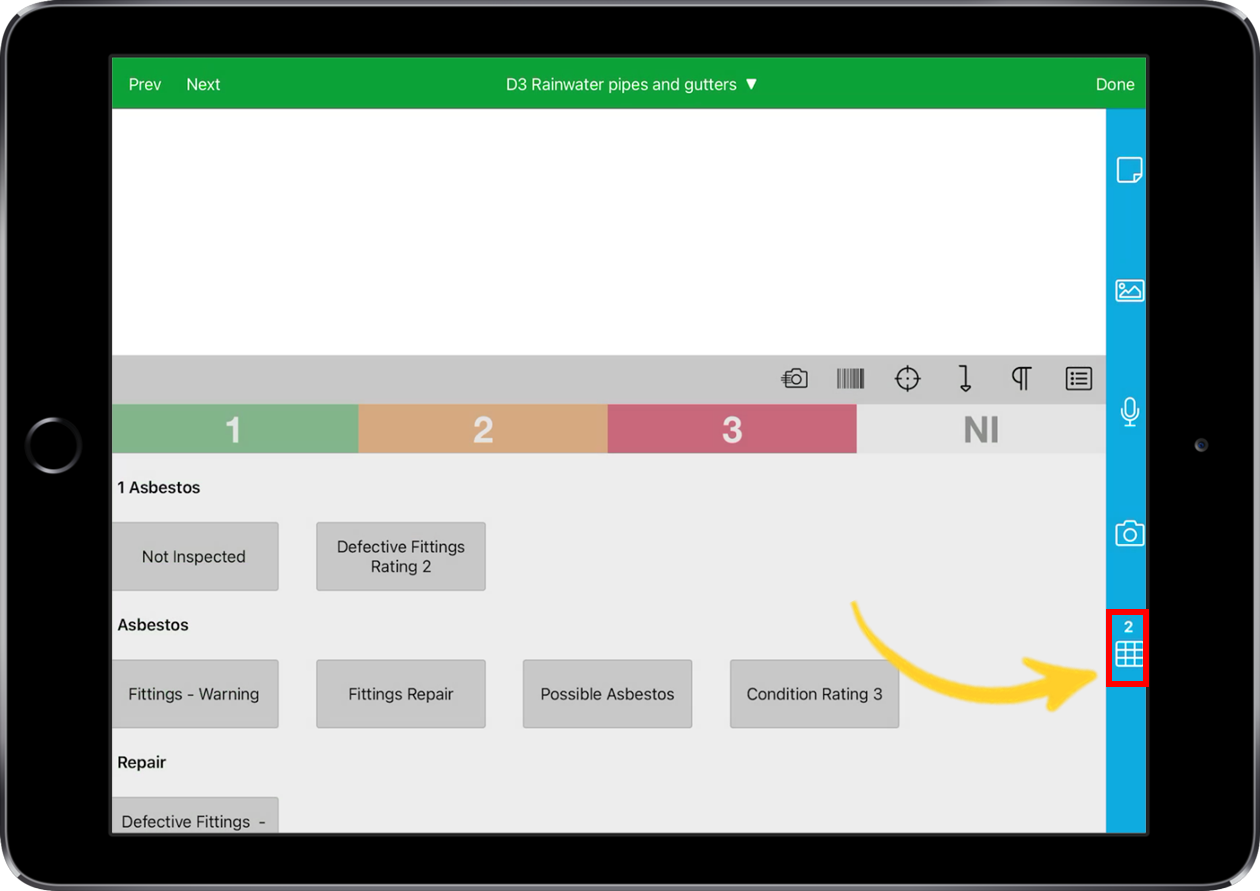
- Once you have taken your photos, a 'Photo Grid' icon will appear below the Camera icon with a number above it. This number represents the amount of photos within this section.
Adding a photo from Gallery
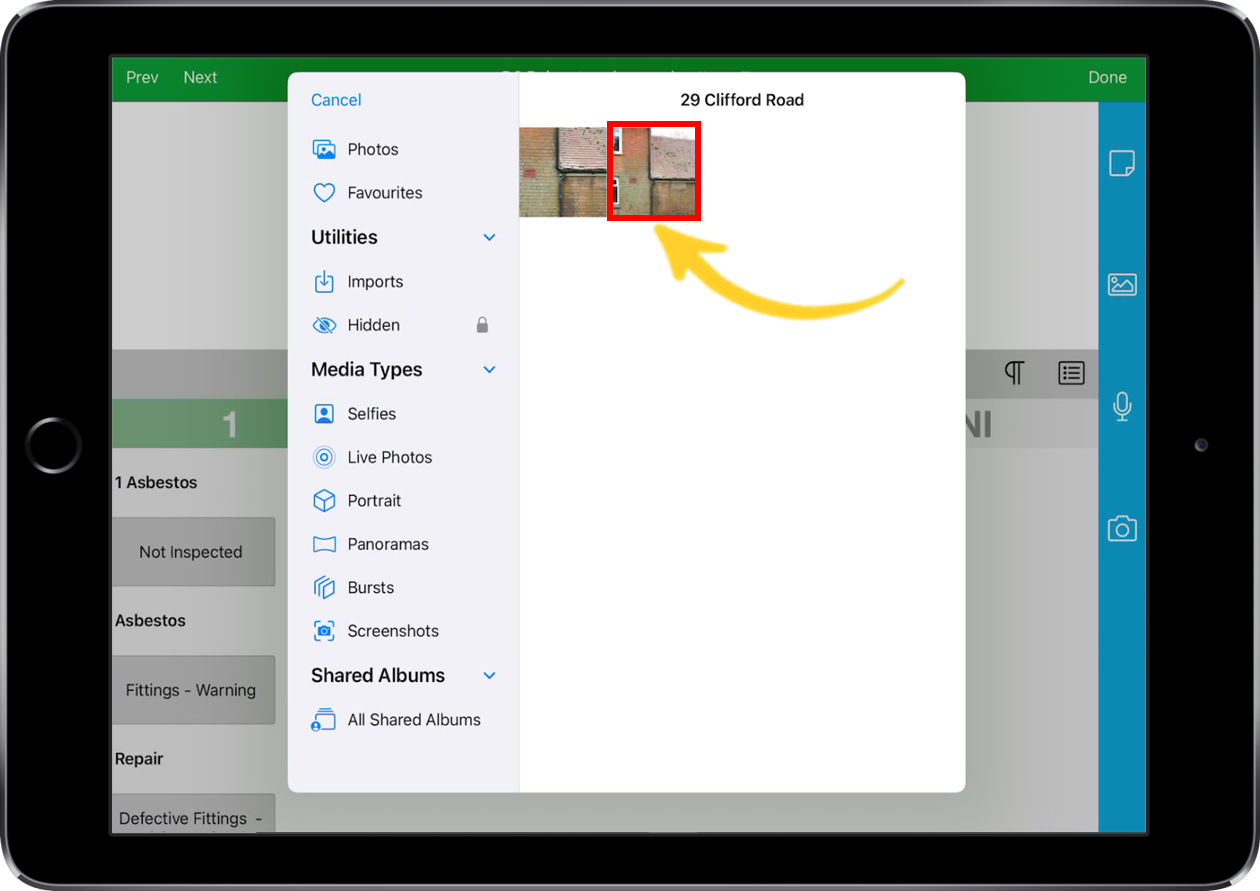
- Select the Gallery icon.
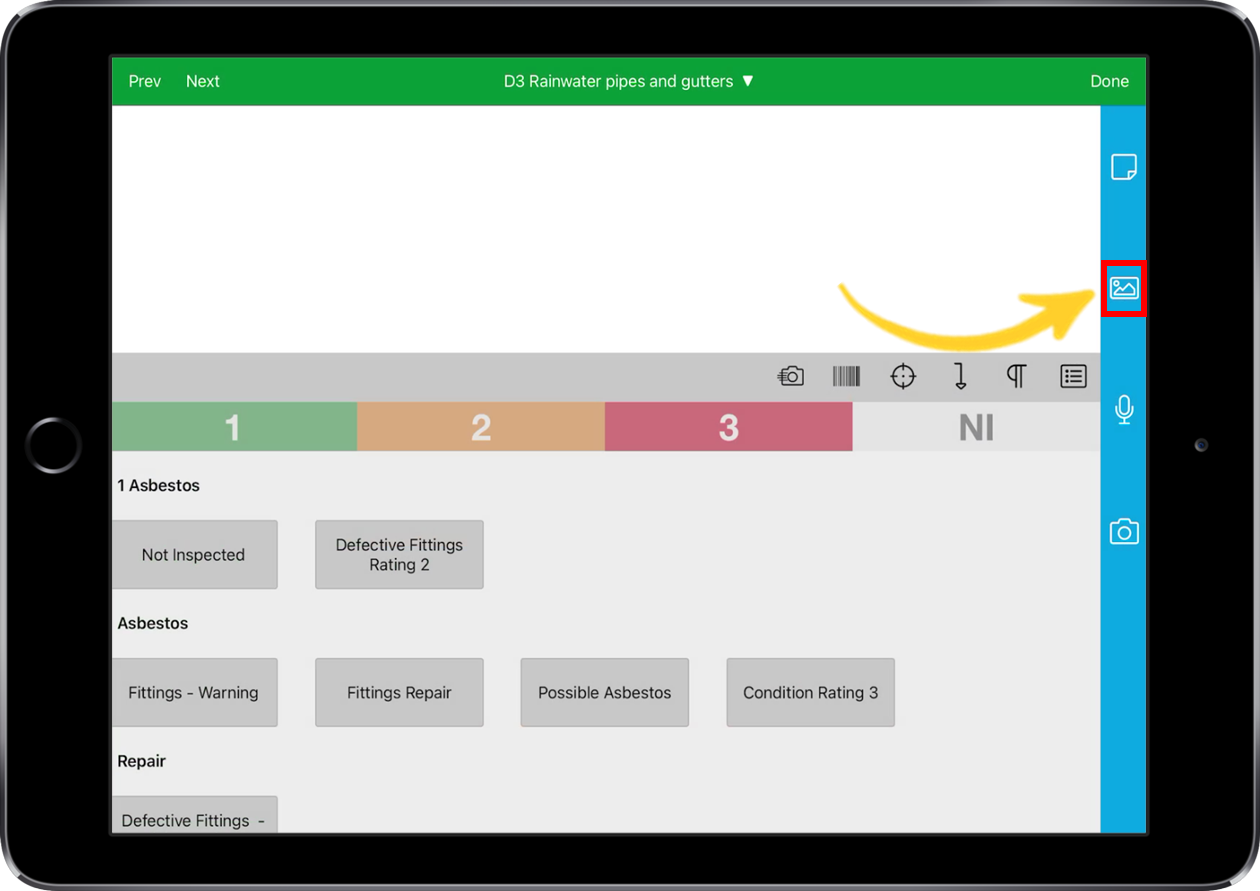
- Select a photo from your device.
Note: Please note you can only add one photo at a time from the gallery in your iOS device.
- Once you have added your photos, a 'Photo Grid' icon will appear below the Camera icon with a number above it. This number represents the amount of photos within this section.
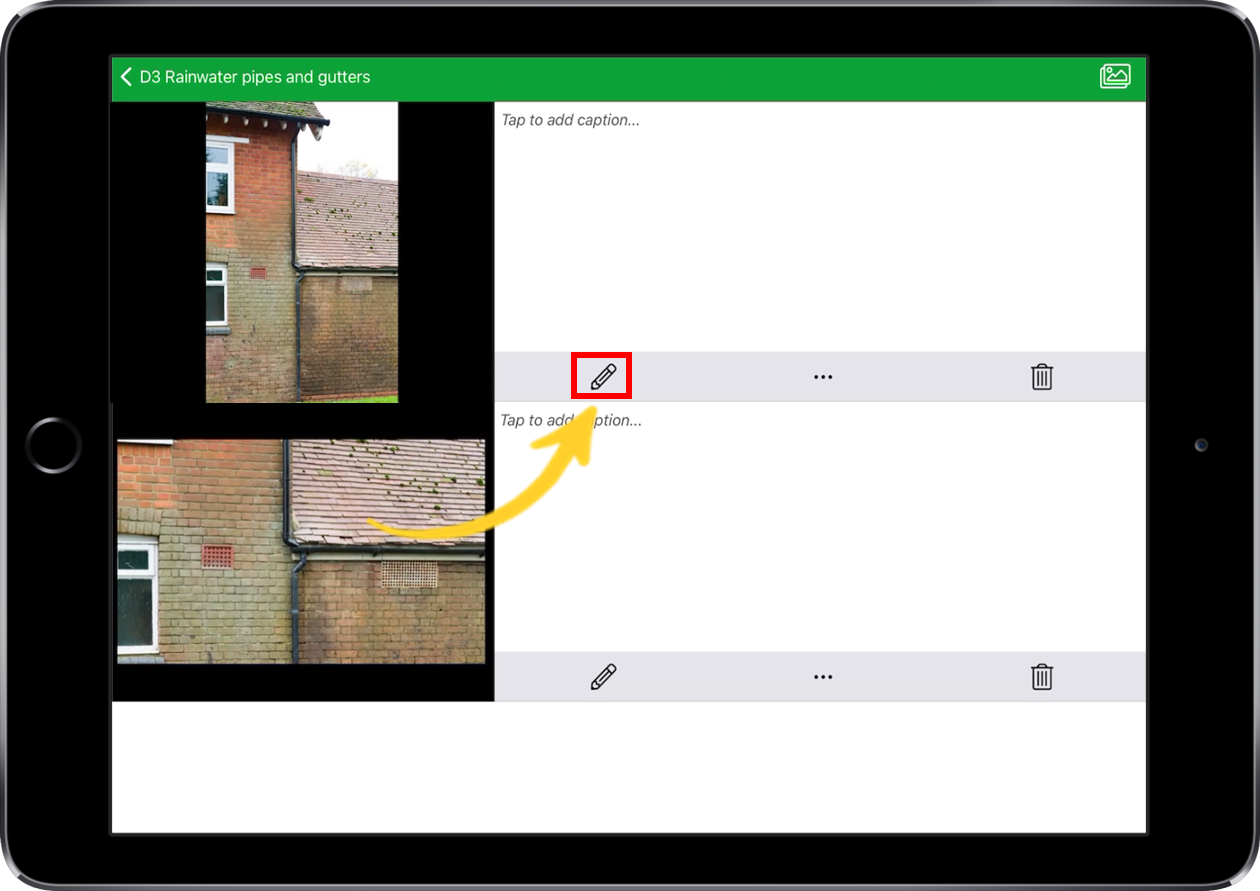
- Select the photo grid icon to view the photographs.
- Photographs can be viewed individually or in a gallery style view.
- Simply click on the icon (as shown below) to switch between the views.
Individual Photo View:

Gallery View:

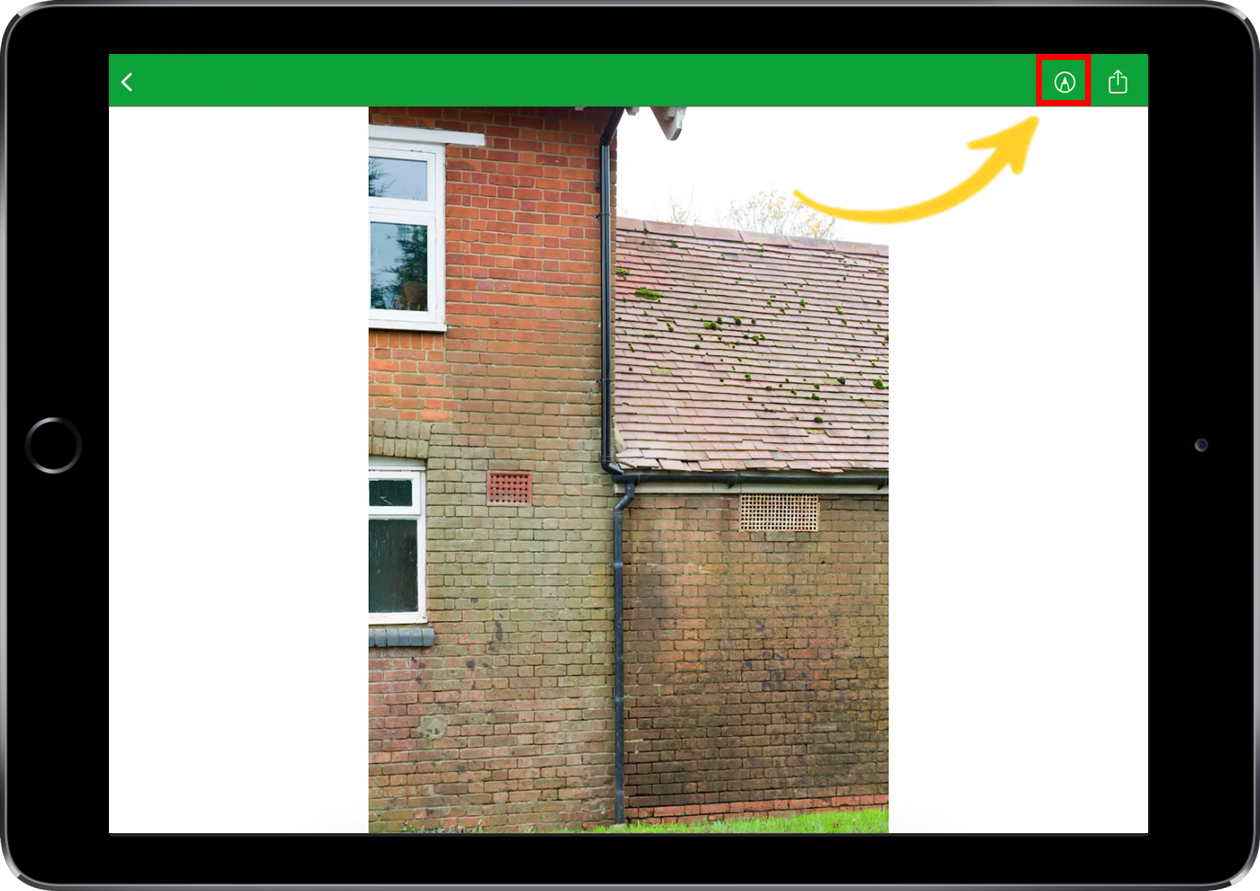
- Select the Pen icon to display the annotation screen.
Individual Photo View:

Gallery View:
- Select the Pen icon again, to display the annotation options.
- Select your preferred tool from the menu.
| Marker |  |
| Pen | 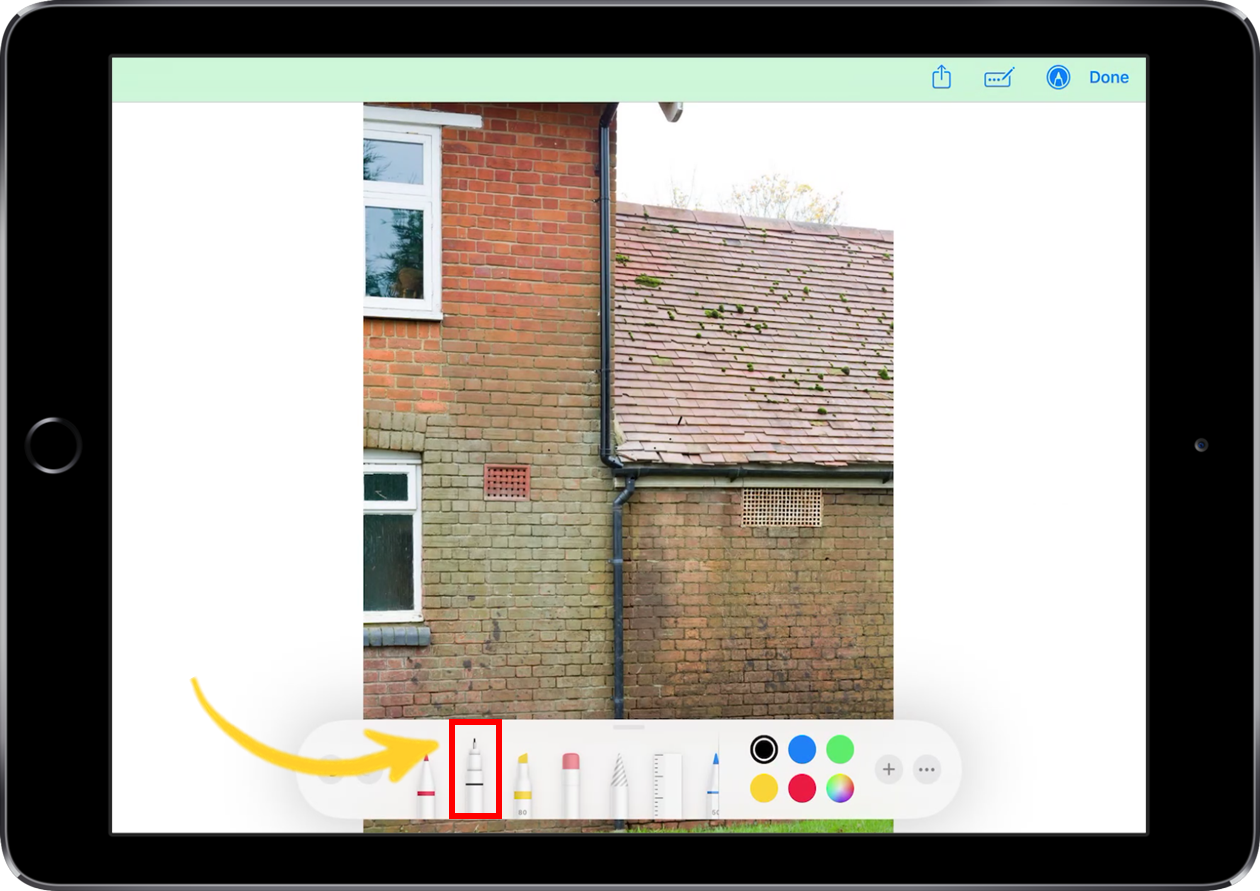 |
| Highlighter |  |
| Eraser | 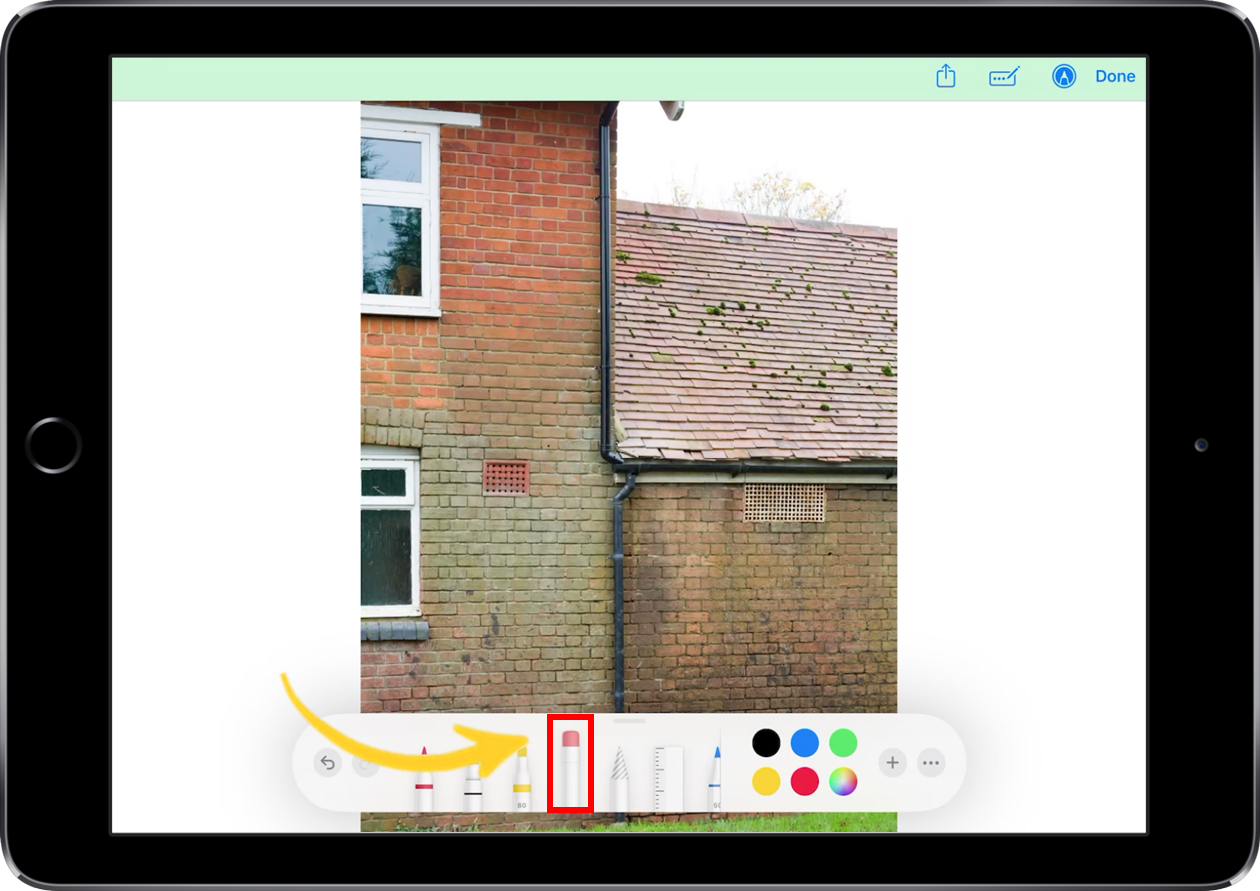 |
| Select | 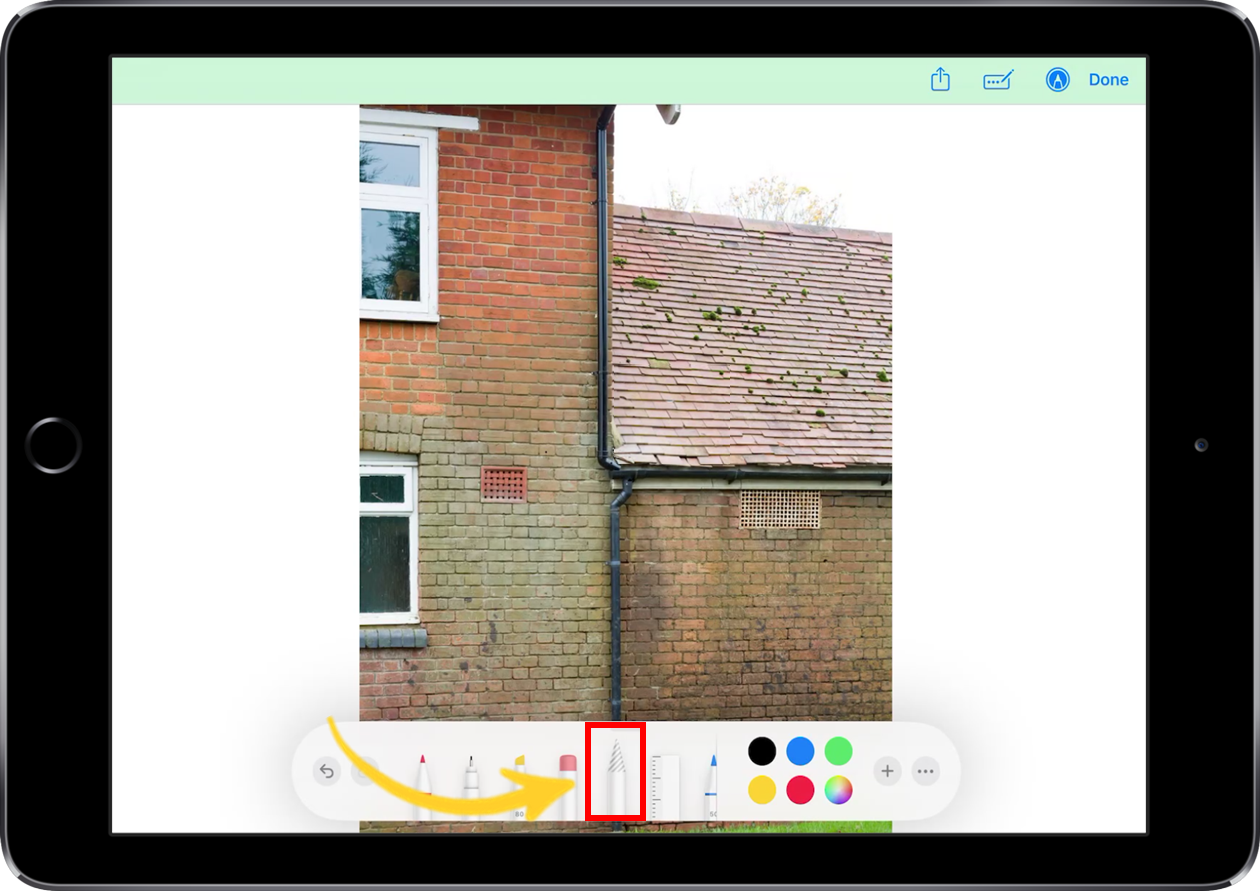 |
| Ruler | 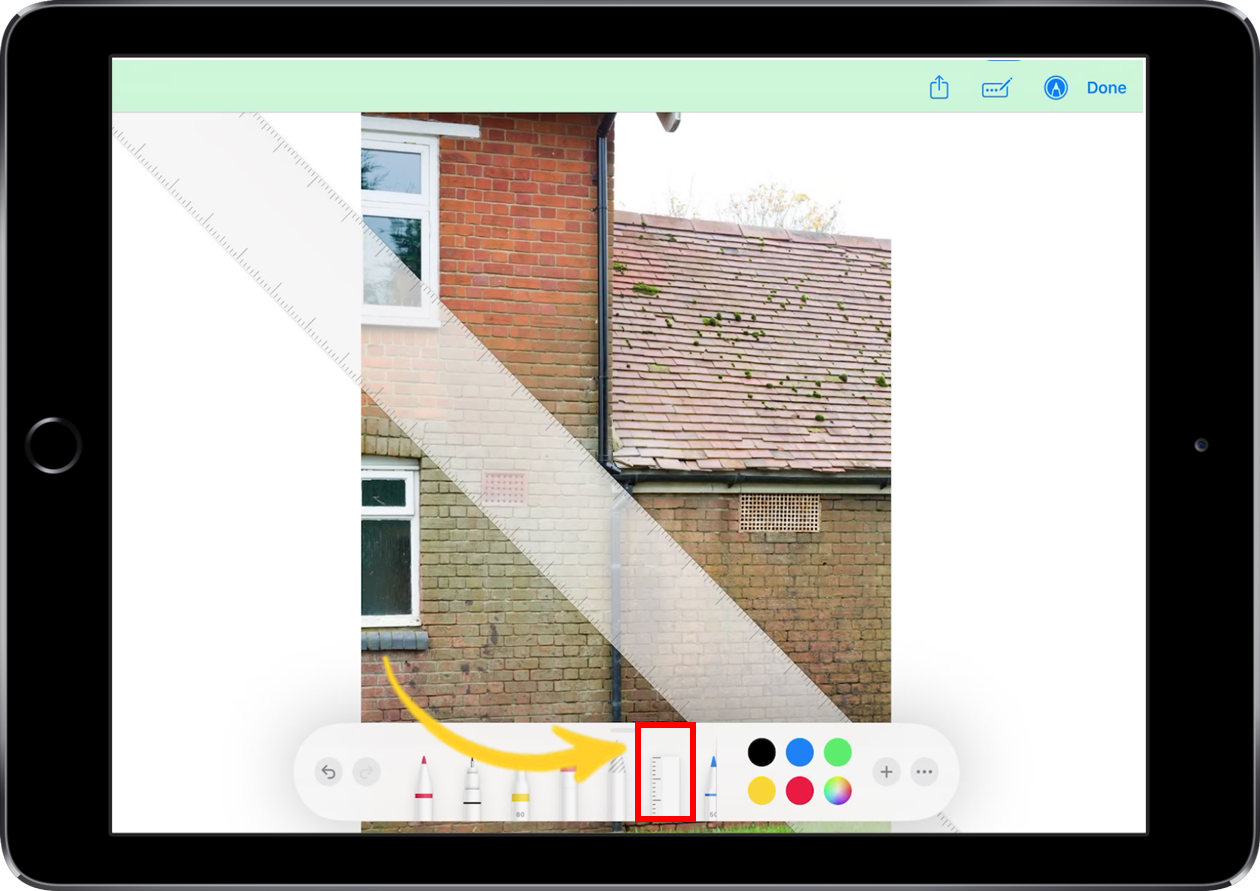 |
| Pencil |  |
| Crayon | 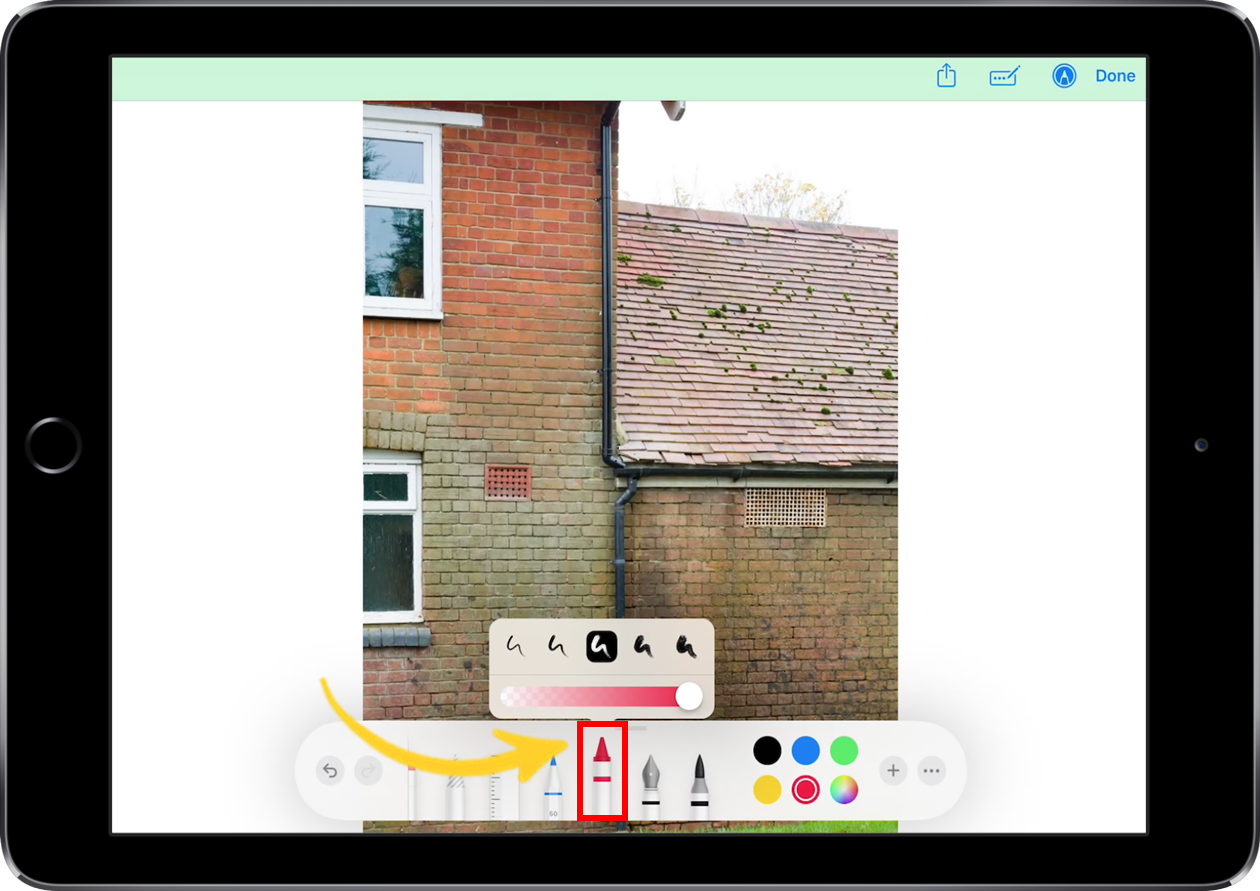 |
| Calligraphy Pen | 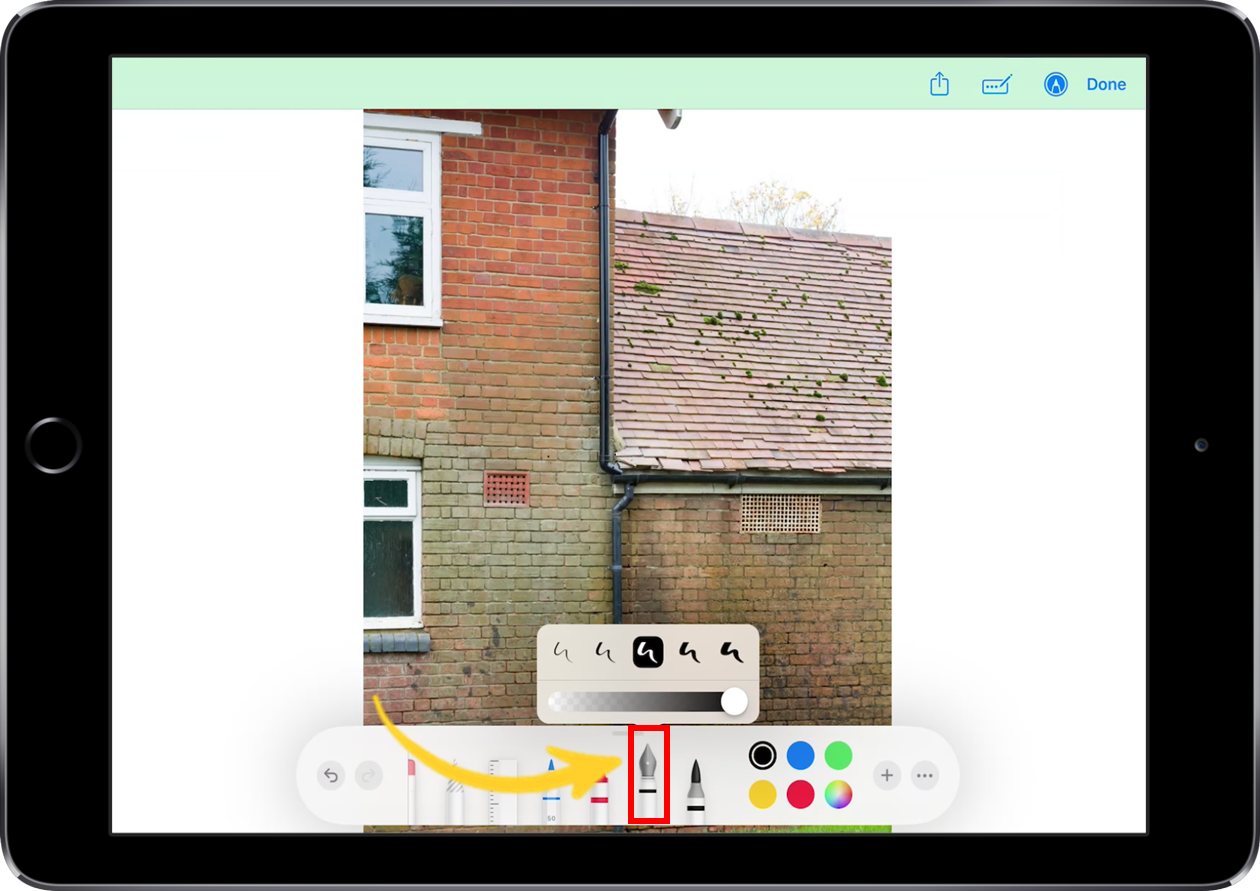 |
| Watercolour Brush |  |
- Change the colour and opacity of the marker, pen or highlighter using the colour chart.
| Choose a colour from the main grid | 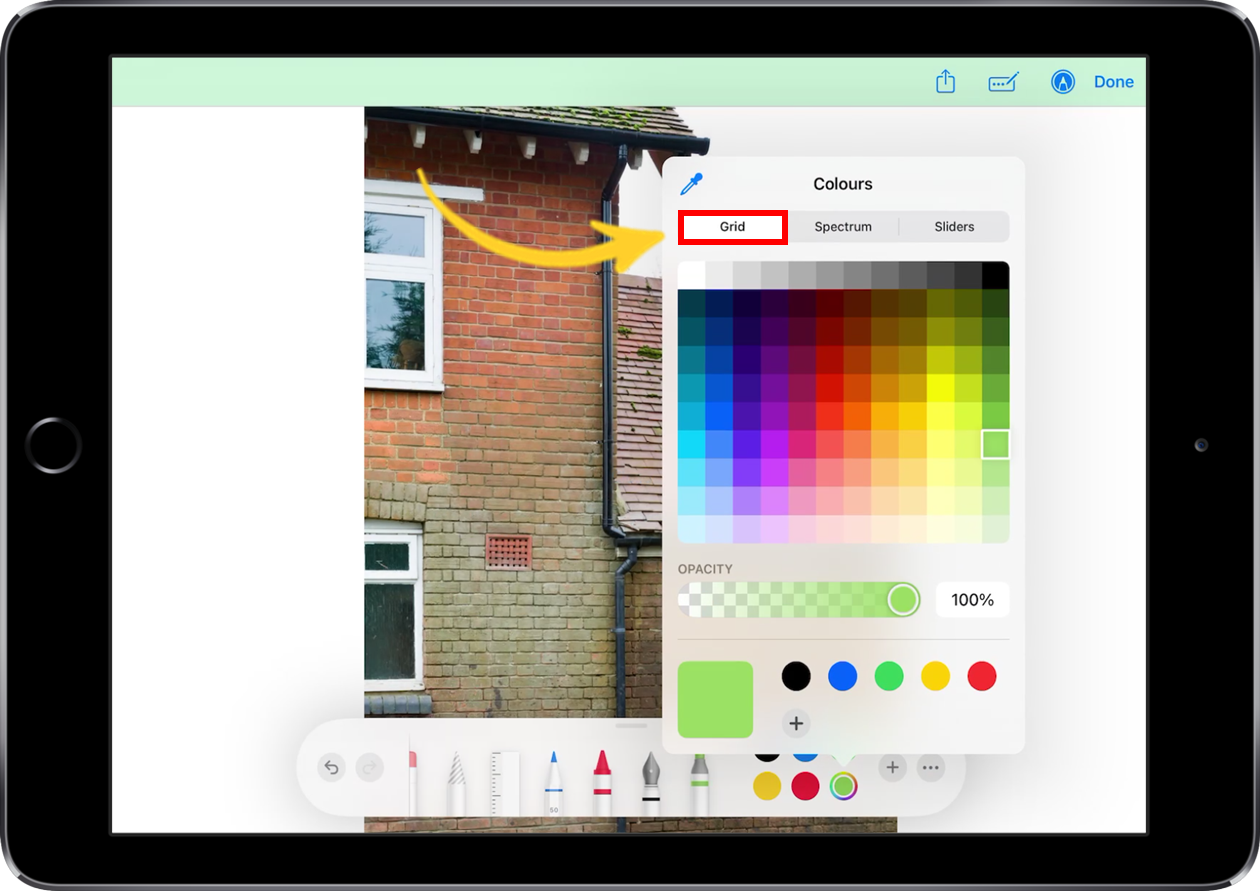 |
| Choose a colour from the spectrum | 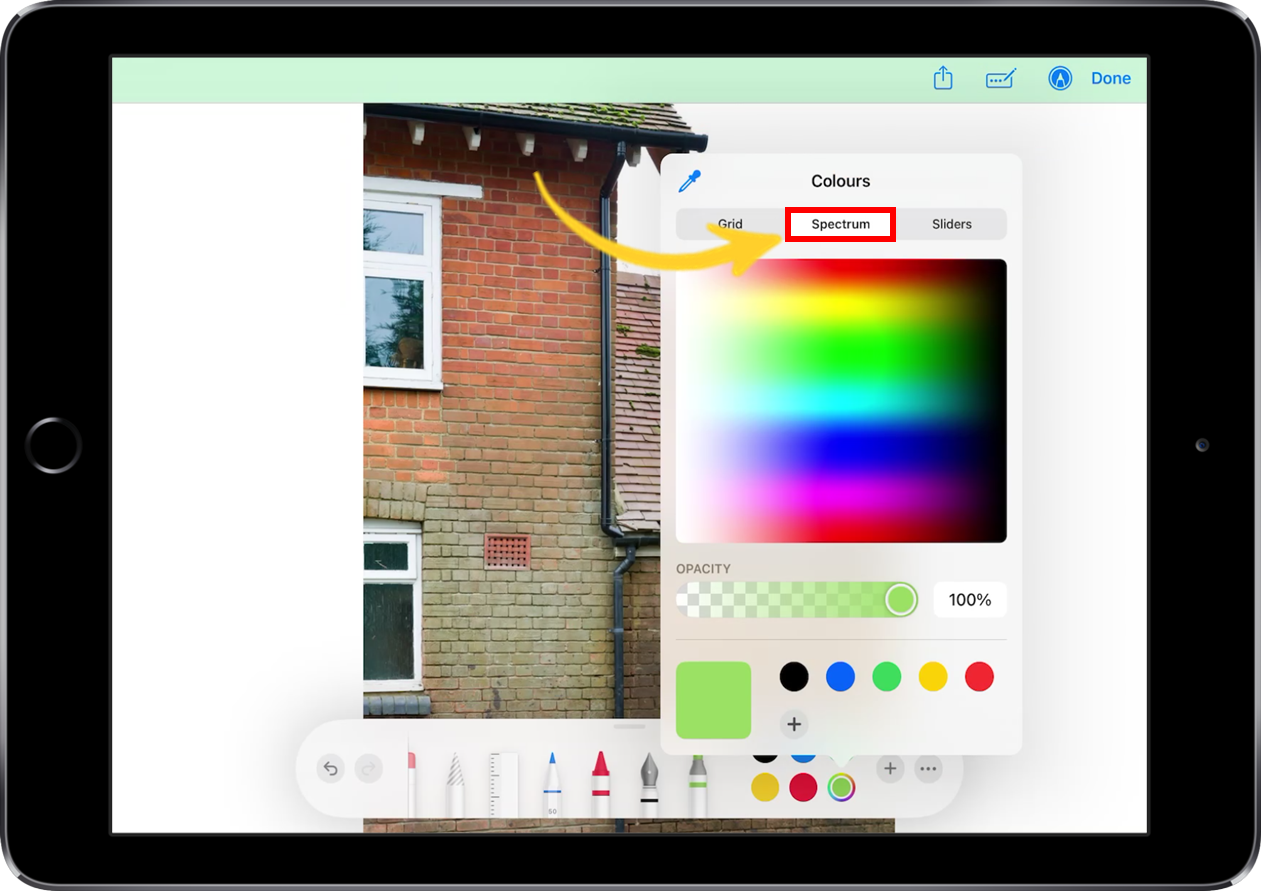 |
| Use your preferred RGB or Hex colours |  |
| Use the colour picker to select a specific colour from the image |  |
- Select the '+' icon to view additional annotation tools.
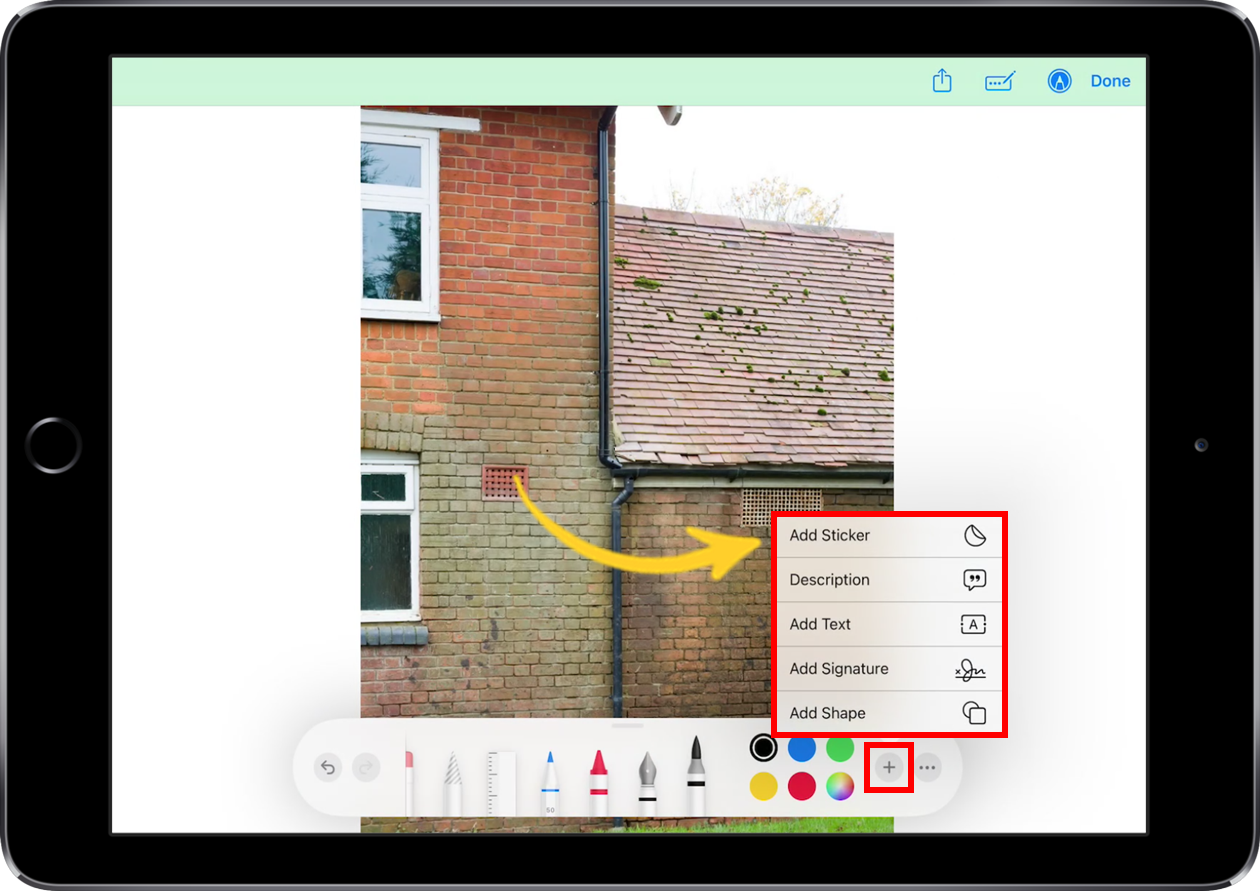
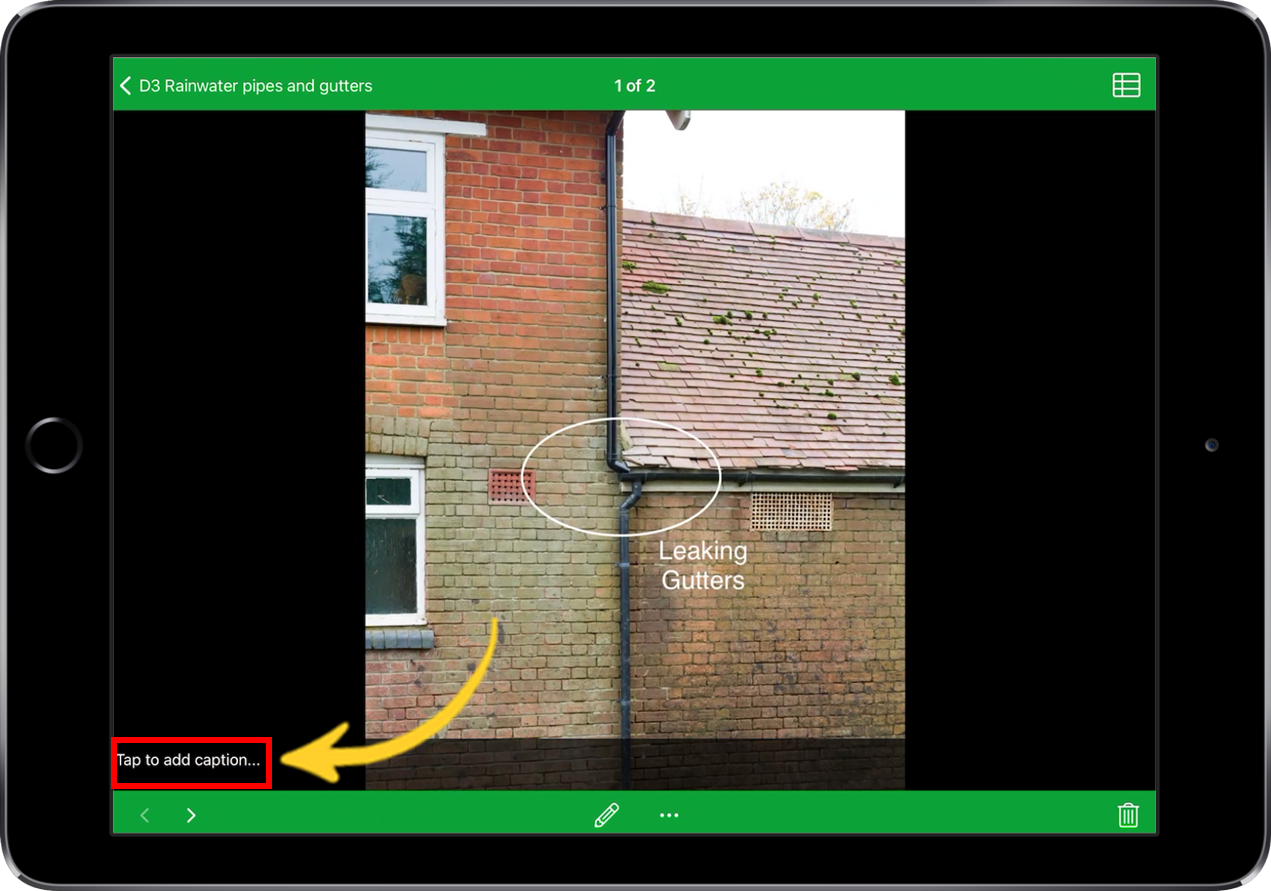
Caution: Please note the “description” feature is not utilised by GoReport. Information recorded using the “description” feature will not surface on the app or the report. To add a title to the photograph please use the “caption” feature.
-
You can draw, measure and add text anywhere on the image.
- When adding text, you have the ability to customise its style, orientation, and size according to your preferences.

- Shapes added to the photo will automatically be filled with a solid colour.

- You have the option to customise the fill colour, border colour and the border width when creating shapes.
- This allows you to create shapes with a solid outline and no fill (as shown below.)

- To minimise the toolbar and adjust the pencil settings, select the three horizontal dots.

Copy and Paste (Productivity Gestures)
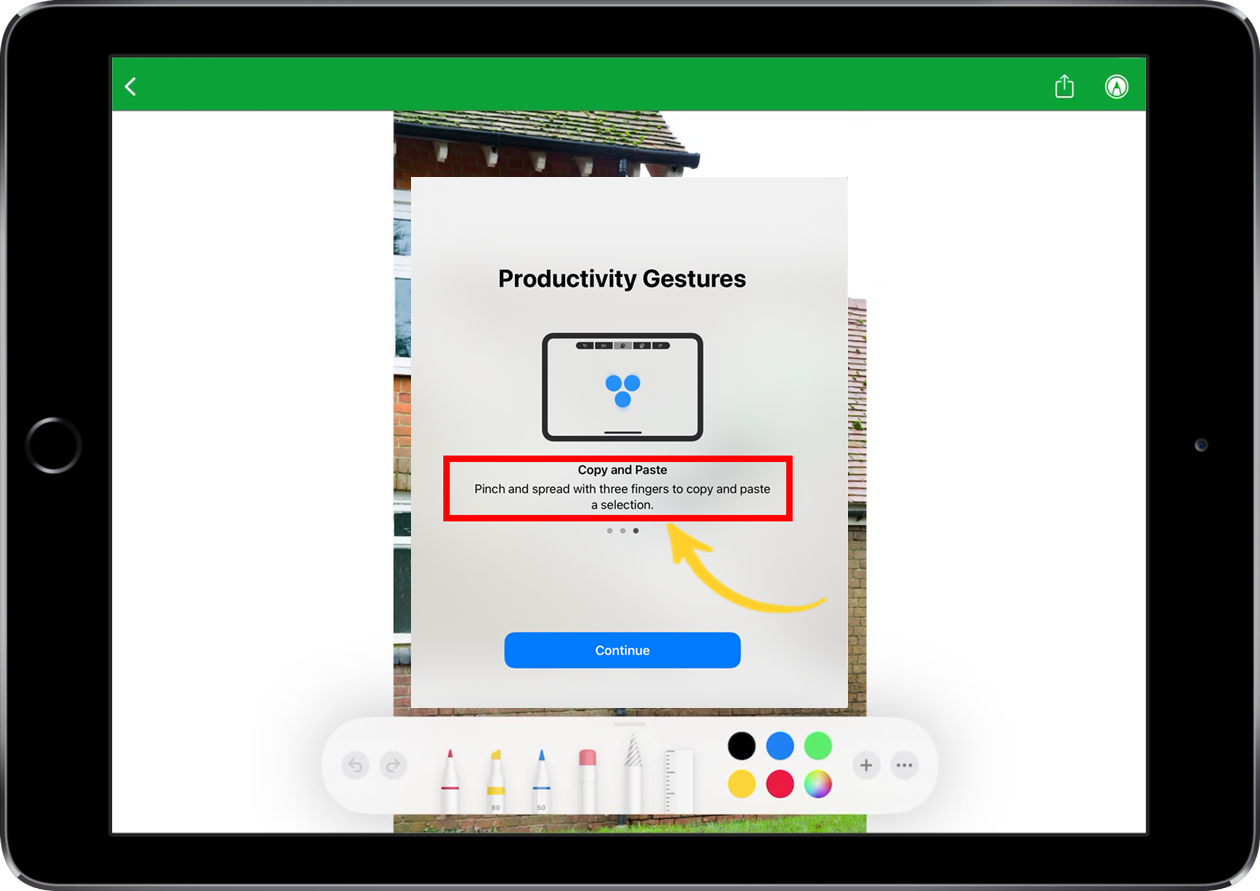
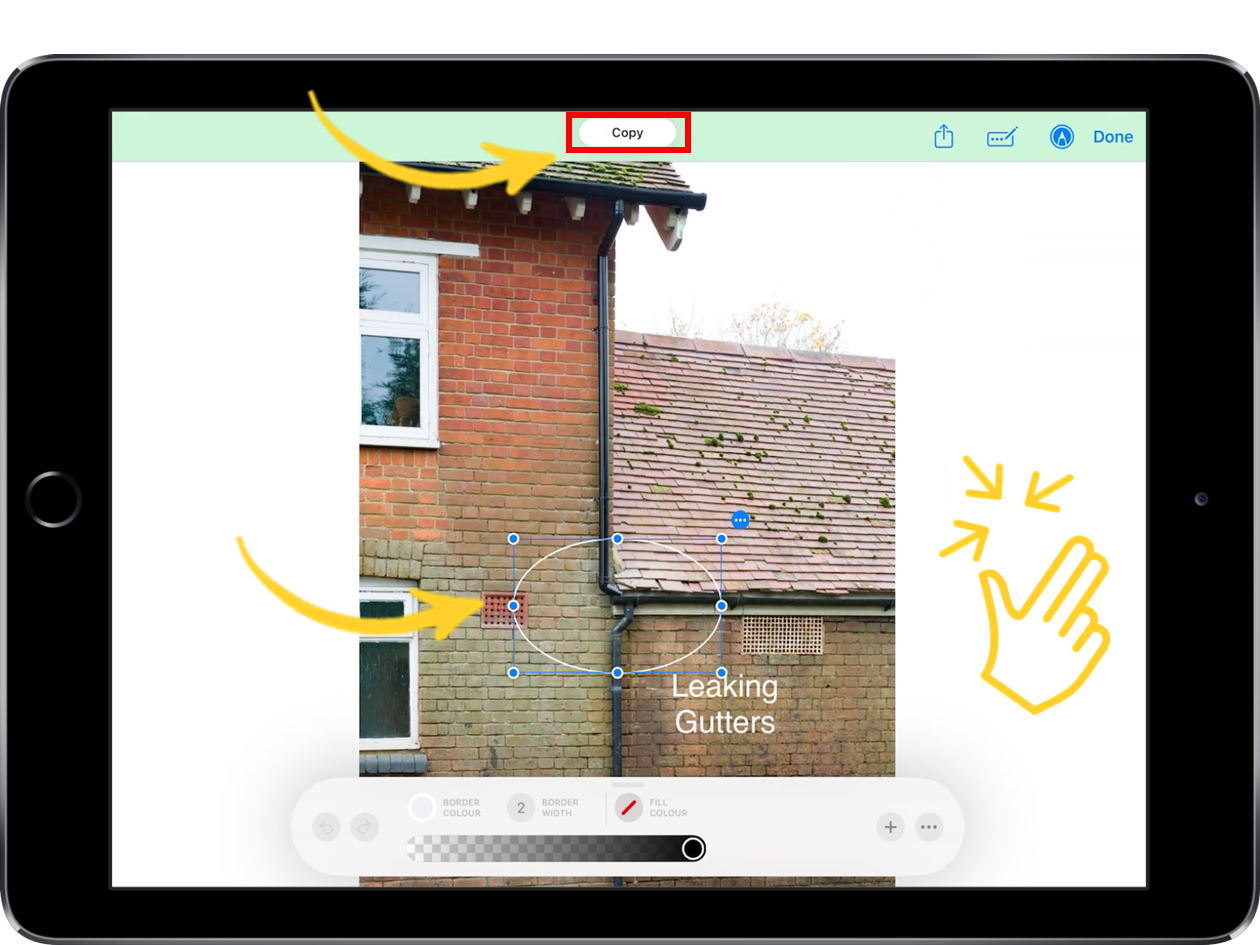
- Select the item you want to copy, for example a shape.
- Place three fingers on the screen and 'Pinch' together to copy the item (as shown below).
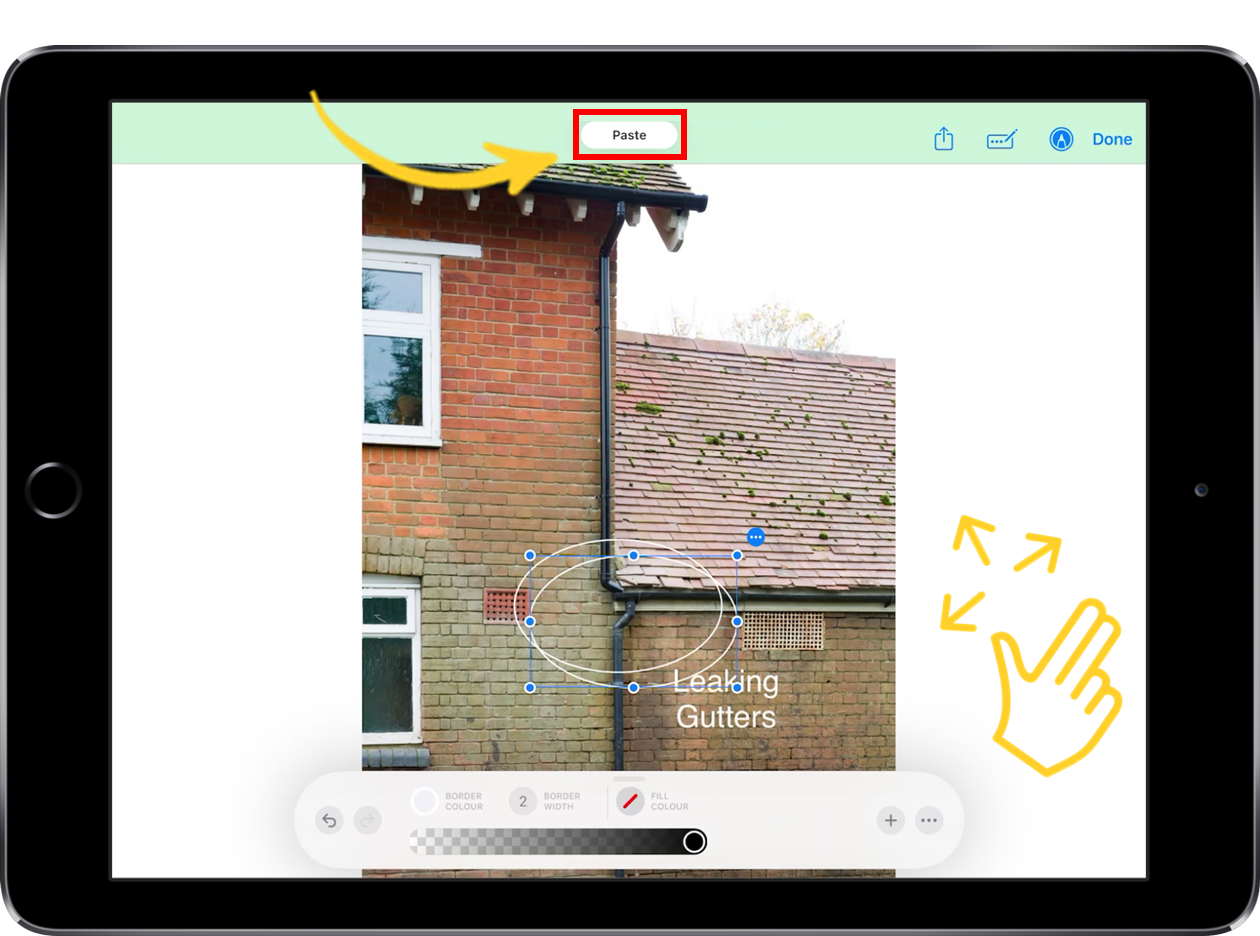
- Pinch and spread with three fingers to paste the item.
- The selected item has now been pasted (as shown below).
Note: You must be within the annotation screen to use this feature.
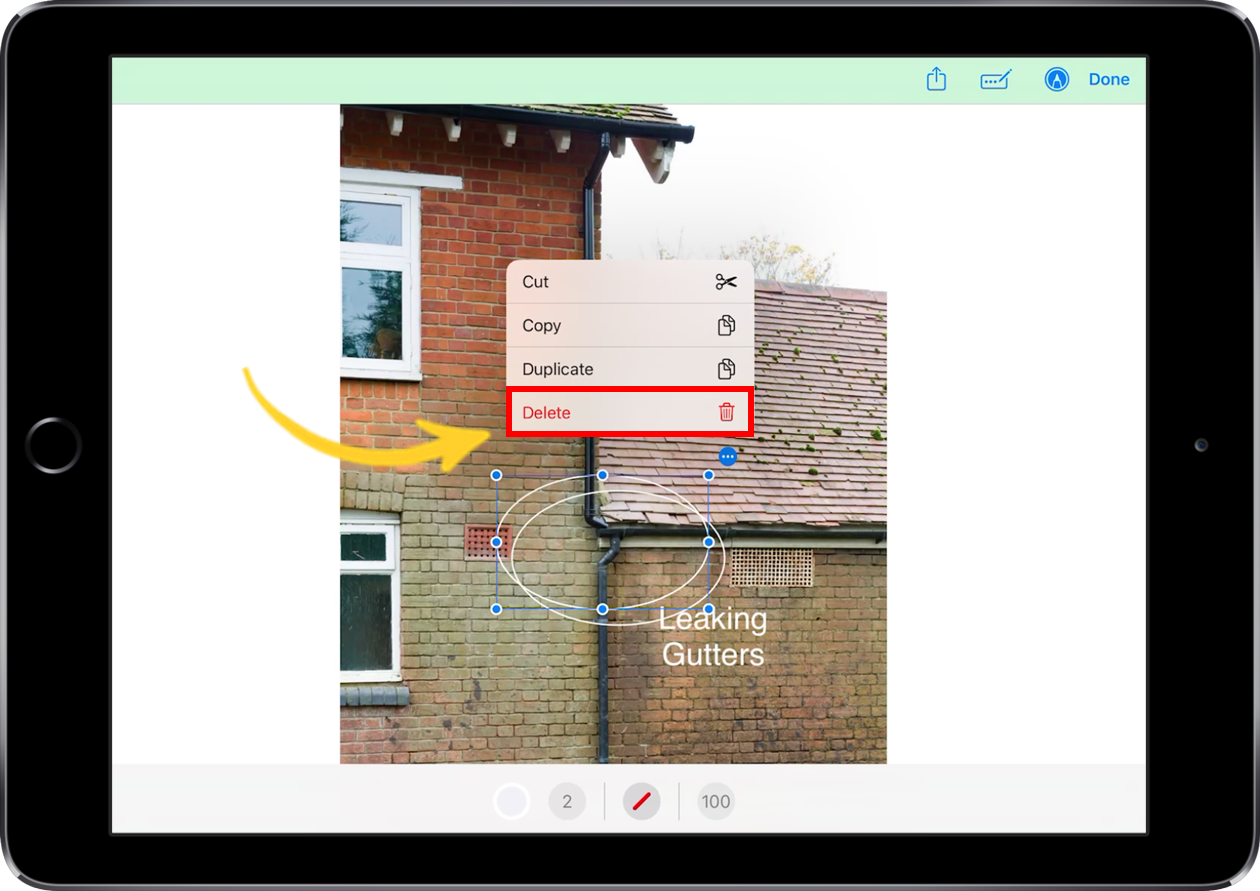
- To delete an item, select the item and select Delete.
- Save the changes you made to your photograph by selecting the 'Pen' icon at the top of your screen.

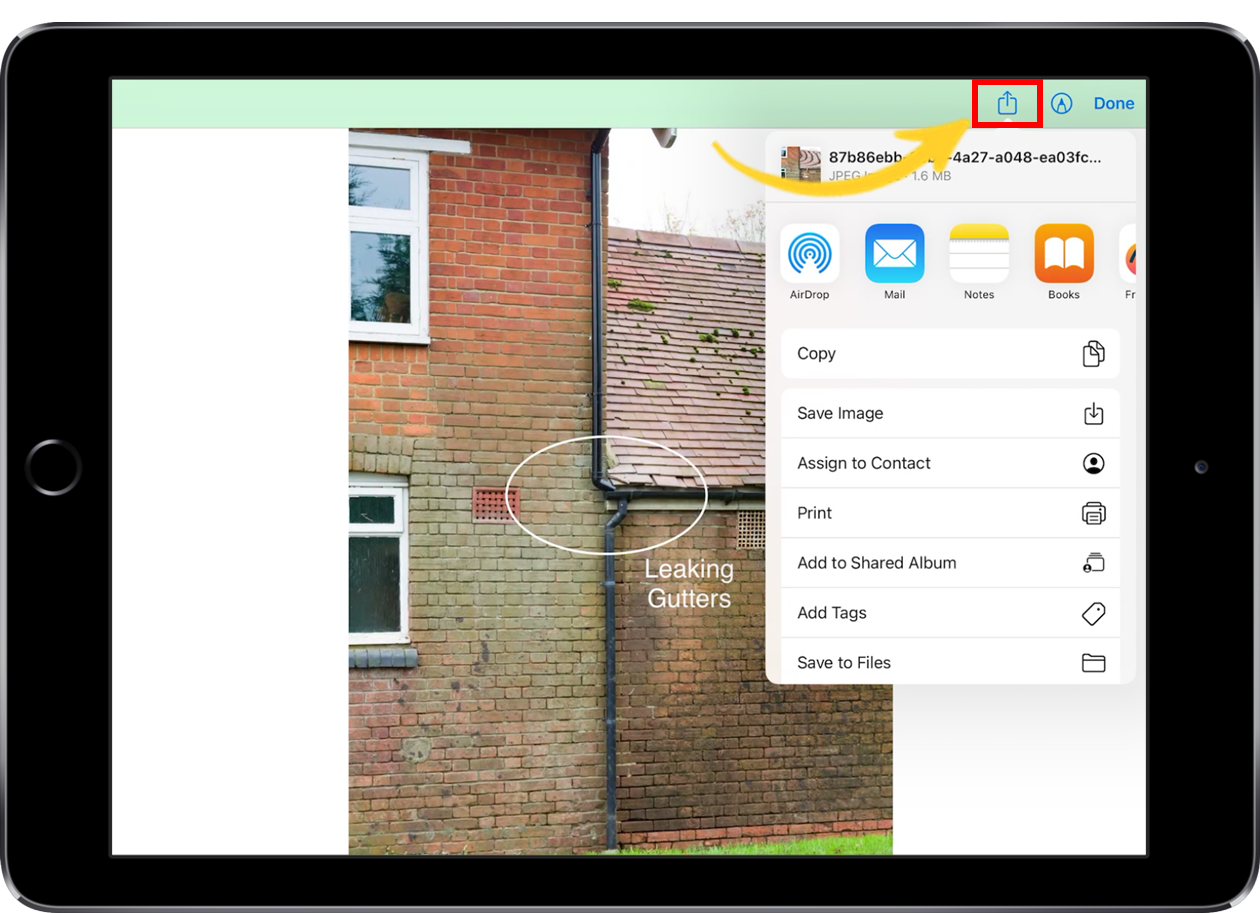
- Select the Share icon at the top right of the screen to view other actions.
- Select Done to view all the photos in this section.

- You have the option to add a caption in the box below each photo.