Note: The GoReport Creator tool has a drag-and-drop interface that enables you to easily add sections to your report and move sections into the position of your choice.
Adding a Table
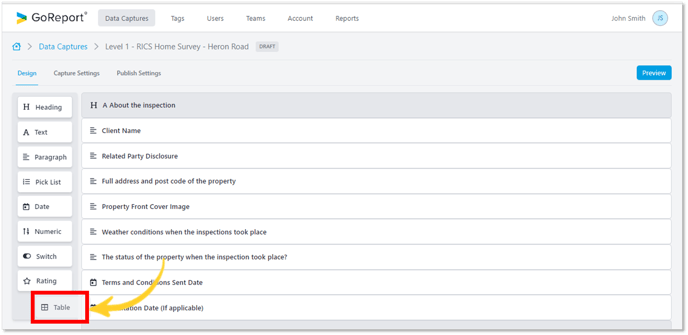
- In the Design tab drag and drop or click on Table to bring this field to the centre of the screen.
- Choose a title and click Add.
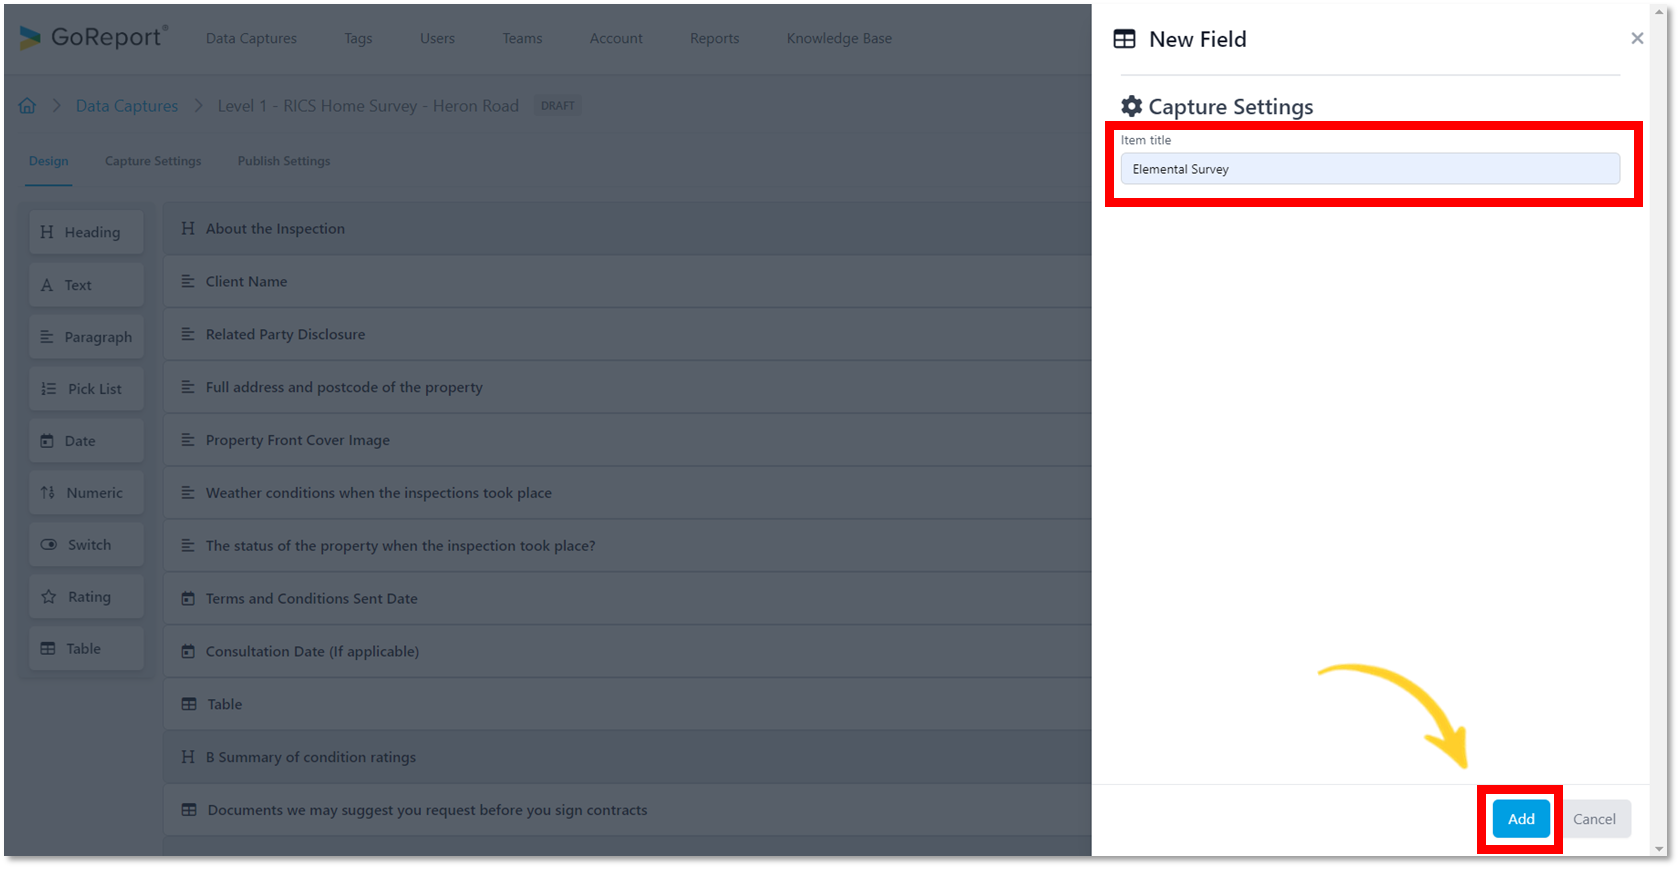
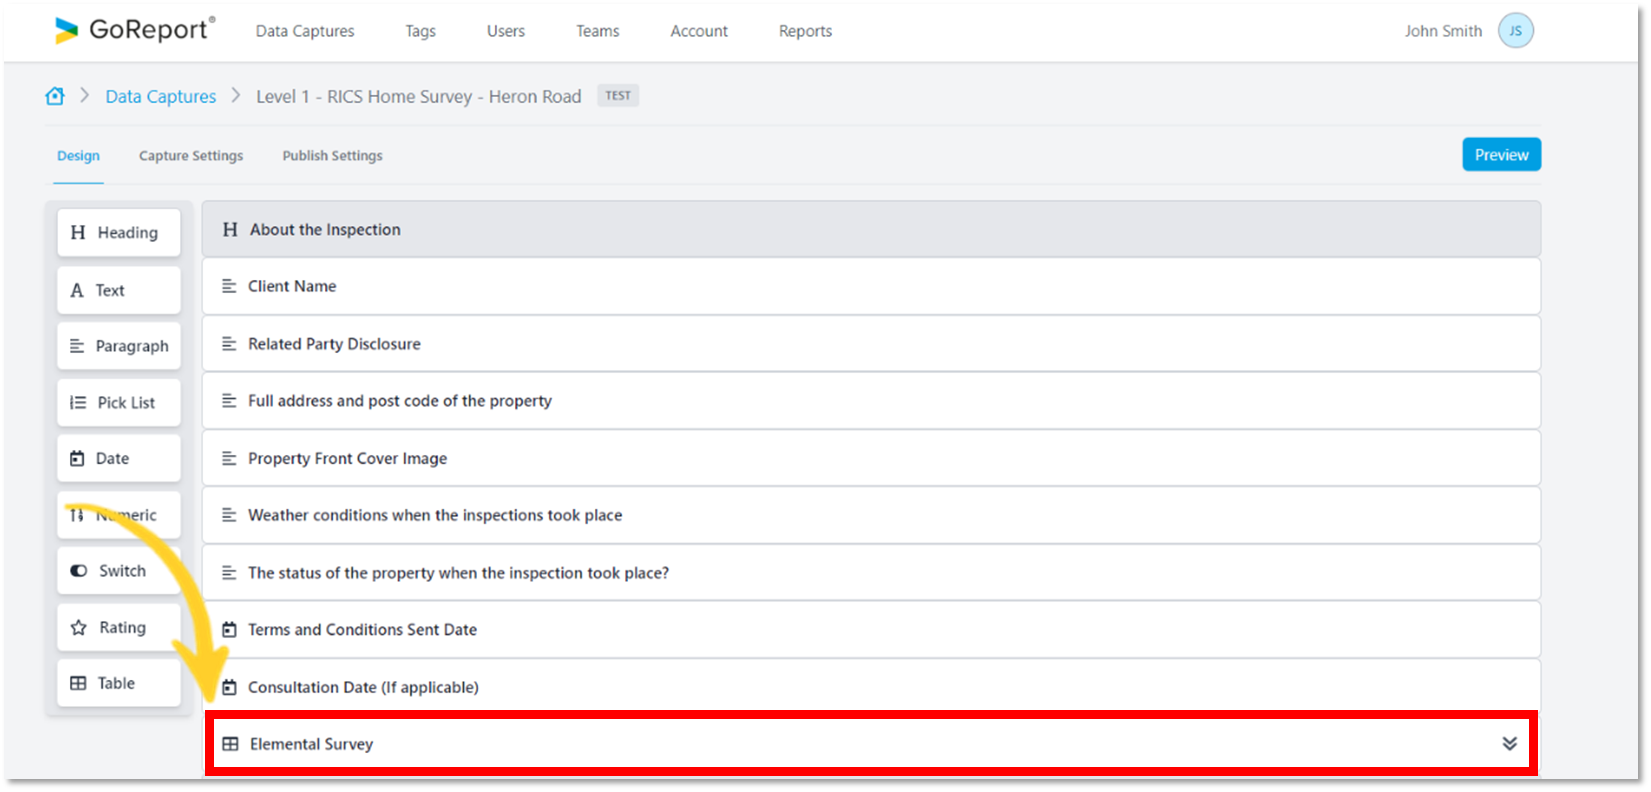
- The Item Title has been updated.
Tip: The data capture autosaves every change made in real time.
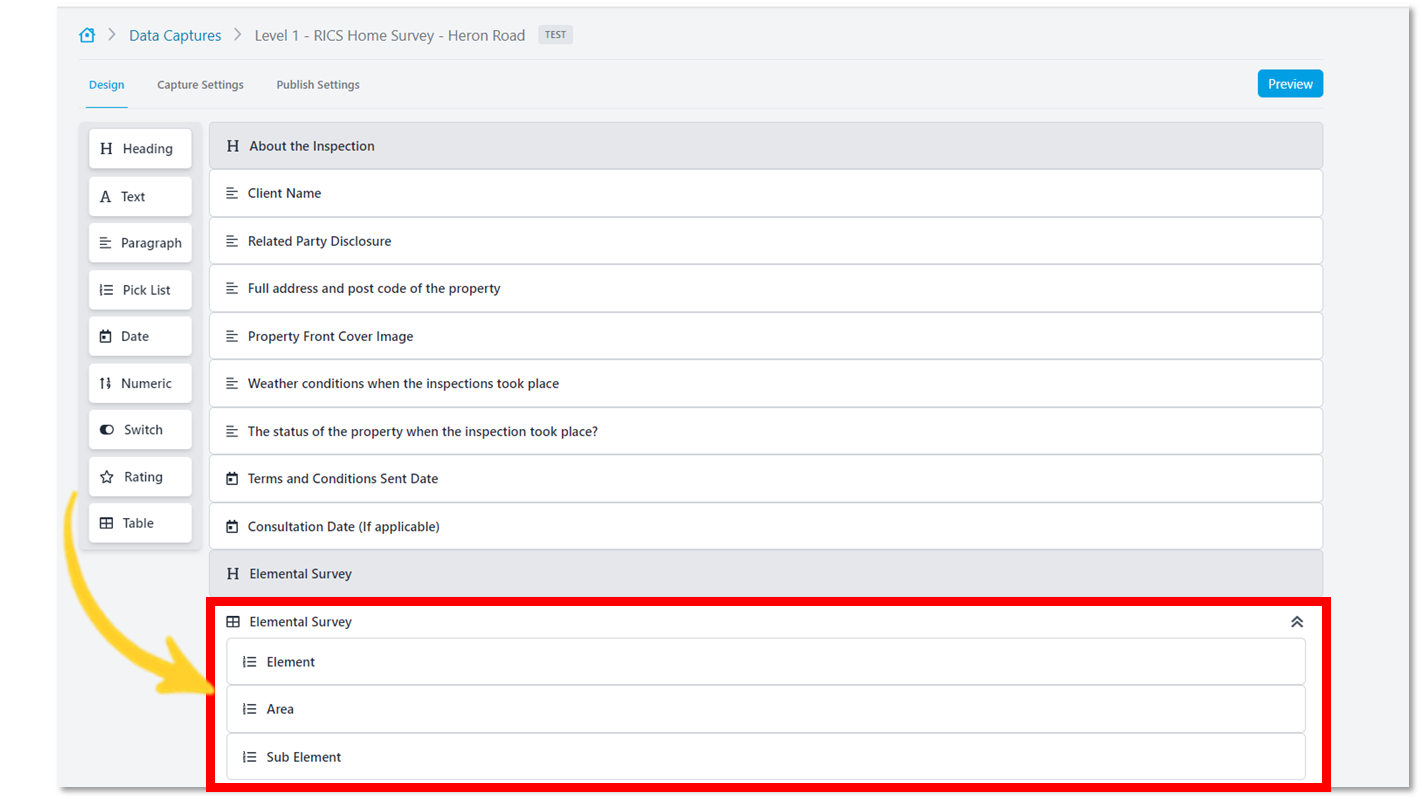
Adding Items to Table
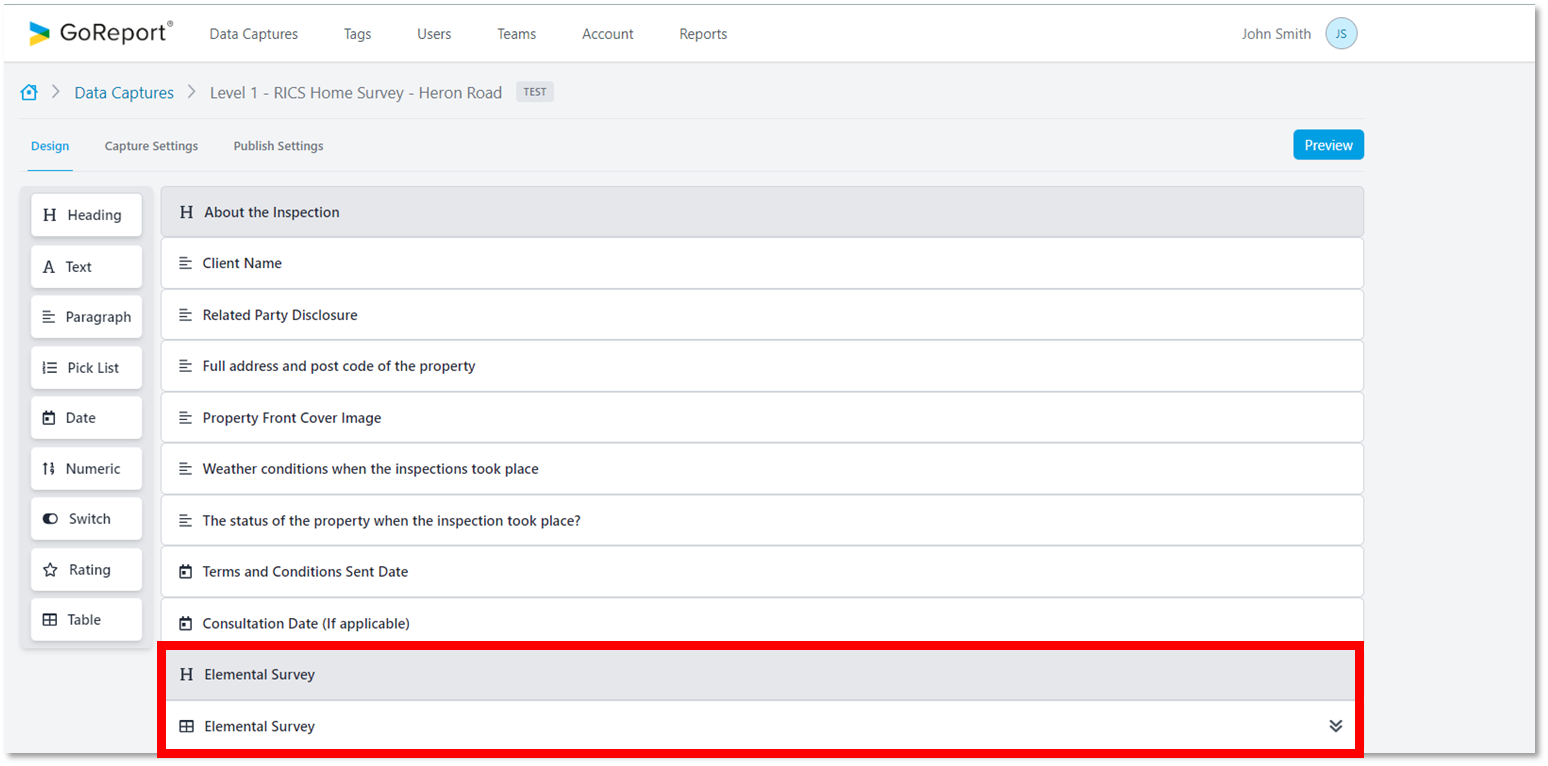
Note: The "Heading" field cannot be added into the Table. If you require a heading it must be added as a separate field above. In addition, the "Table" field also cannot be added inside a Table.
- Drag and drop items to the centre of the screen WITHIN the table section to add them to your table design.
- These items can be edited in the same way as the other items (see Creator How To articles >> GoReport Creator -How To)
Capture Settings
- The Item Title can be changed at any stage before making the template live.
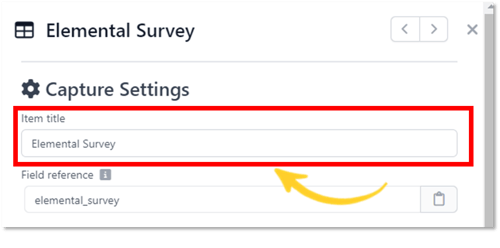
- A Field reference for each item is created automatically after you choose the Item Title.
Tip: The Field reference cannot be changed or updated. If you wish to change the reference name, you will need to delete the item and create a new one.
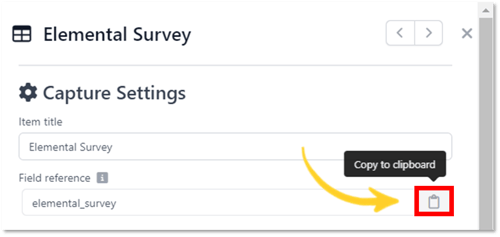
- Field references can be copied using the clipboard icon (as shown below).
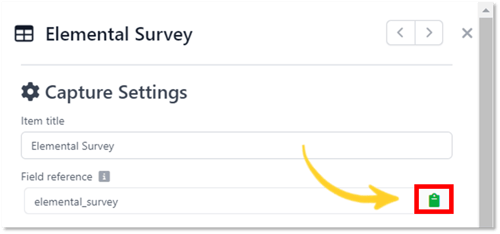
The clipboard will change colour when it has been copied. This reference is then stored in the Reference Library under Publish Settings for future use.
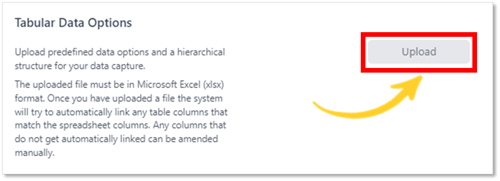
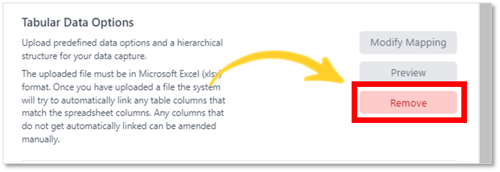
Tabular Data Options
You have the option to upload data from an Excel file into the system. (see Design - Table - Tabular Data Options for a full explanation of the Tabular Data Options functionality)
- Click Upload.
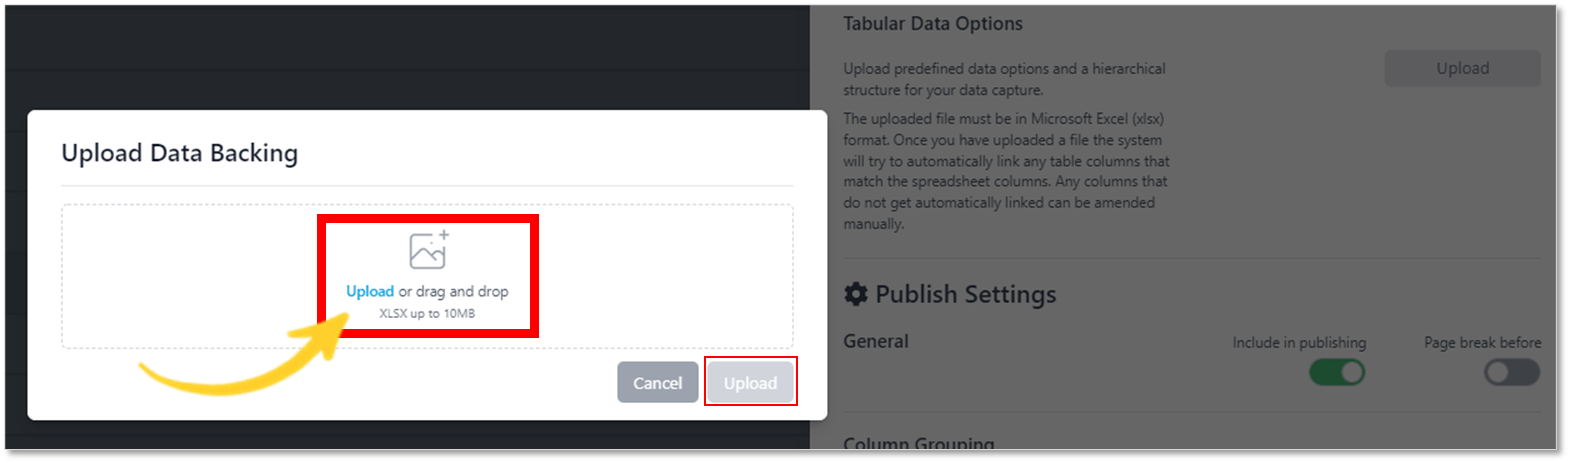
- Drag and drop the file from your computer or click Upload to access your computers files.
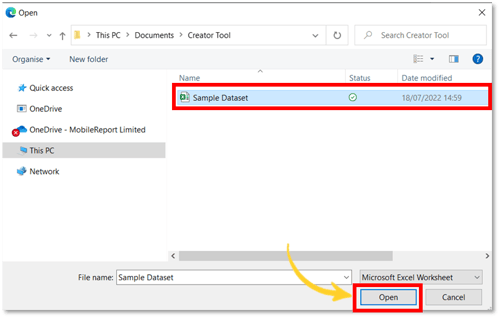
- Select the file and click Open.
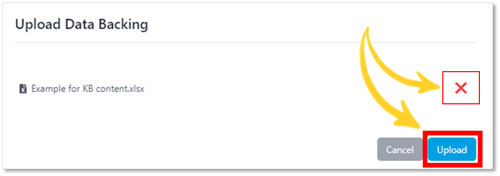
- Click Upload.
Tip: Simply click on the red X icon to remove the file.
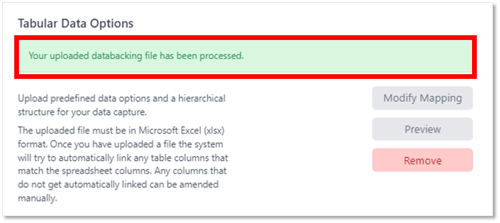
- When the file has been uploaded you will see the following confirmation message (as shown below).
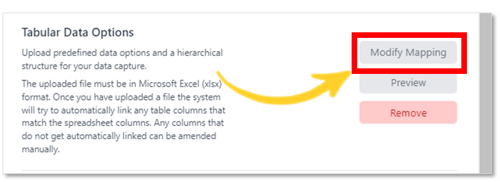
- To manually link the columns, click on Modify Mapping.
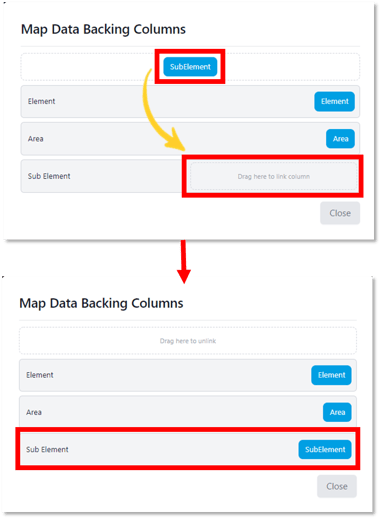
Two columns have automatically matched while the third (Sub Element) has not. The system has recognised that the columns are not identical and will now give the user the opportunity to manually map the data to the column.
- Click and drag the item you wish to link to the column. When you have finished, click Close.
- To view the uploaded Excel file, click Preview.
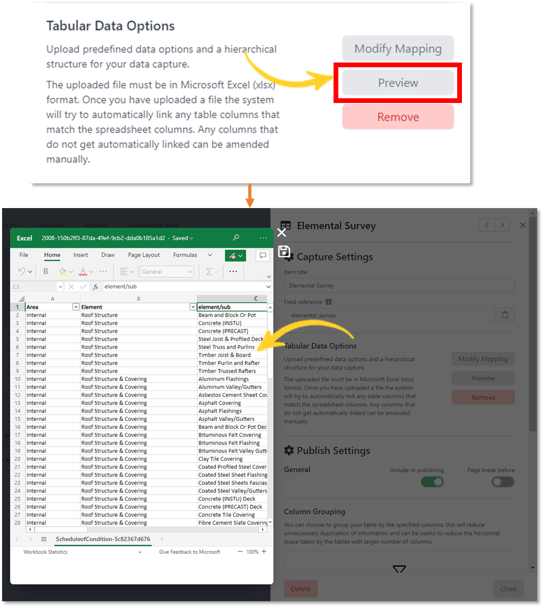
- To remove the Excel file from the data capture, click Remove.
Publish Settings
- General - By using the toggle buttons, you can select whether to include this item in the published data capture and whether a page break should be included directly after.

Column Grouping
Data can be grouped to eliminate the repetition of unnecessary information.
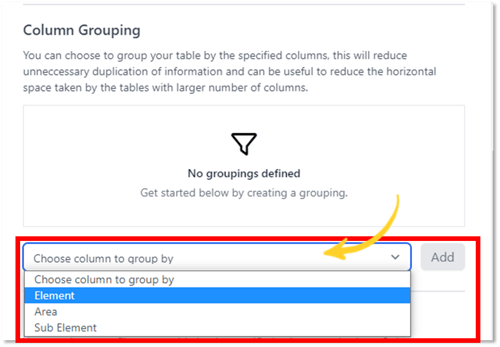
- Create a group by choosing a column option from the drop-down menu.
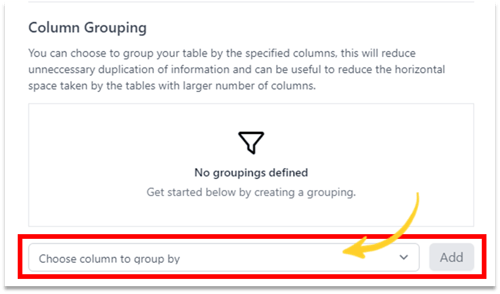
- Click Add.
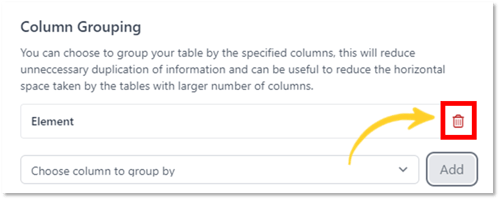
- The Grouping can be removed by clicking the bin icon (as shown below).
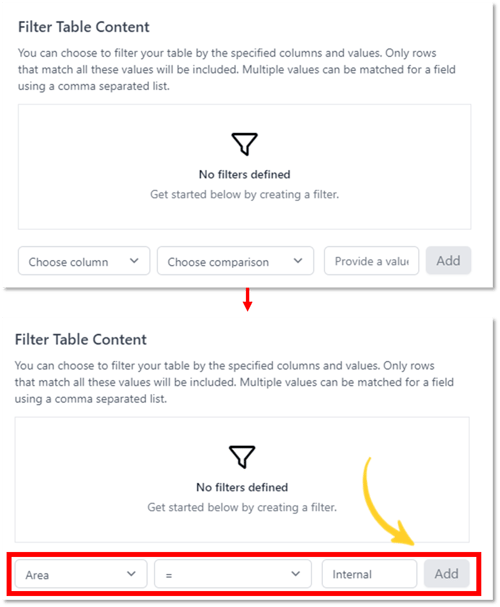
Filter Table Content
You can choose to filter your table by the specified columns and values.
- Using the drop-down menus, select the column, comparison, and the option / value to filter by. Choose your filters and click Add.
Comparisons Explained:
|
= |
Equal to |
|
<> |
Does not equal |
|
< |
Less than |
|
> |
Greater than |
|
<= |
Less than or equal to |
|
>= |
Greater than or equal to |
Navigation buttons:

Tip: When you click on an Item from the Design screen, it will automatically be placed at the bottom of your data capture list.